Last Updated on
A soup maker is an excellent kitchen appliance that lets you cook soup quickly, easily, and even more deliciously! But for you to fully take advantage of a soup maker, you should know how to take care of it.
It’s important that you thoroughly clean your kitchen appliances after every use to keep your next dish tasting delicious and prevent contamination issues. That’s why, in today’s article, we’re discussing how to clean a burnt soup maker the easy way.
How to Clean a Burnt Soup Maker
Cleaning a burnt soup maker may seem like a lot of work. Well, it is sometimes. But, if you follow our guide below, it will take you less time to clean it effectively.
Before we get started, it’s a good idea to gather up some of the items you will need:
- Baking soda
- Boiling water
- Non-metal brush
Step 1: Boil the Kettle
Adding boiling water to your soup maker with a depth of up to 10cm—or more if the soup maker is severely burnt—will make it easier to remove abrasive burn. Ideally, leave the boiling water in the soup maker for at least 30 minutes, and you should do this as soon as you’ve finished with the appliance.
Step 2: Add Baking Soda
Once you’ve allowed ample time for the hot water to sit in the soup maker, add a cup of baking soda and mix the solution with a spoon to allow it to reach every corner of the soup maker.
Step 3: Let the Solution Sit Overnight
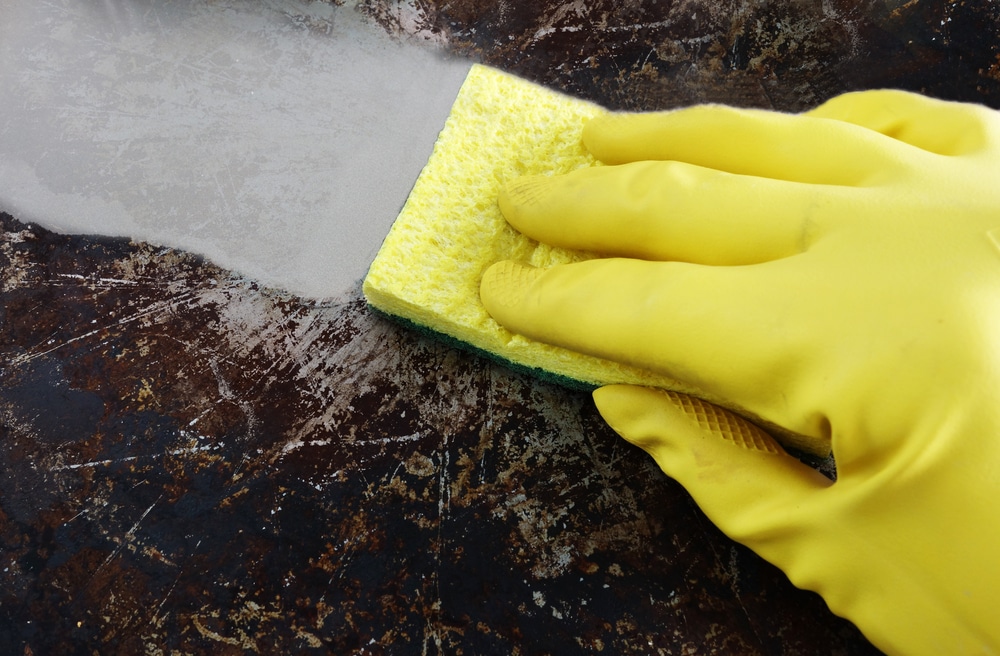
Now that you’ve added the baking soda allow the solution to soak overnight. Then, return to the soup maker and use a scrubbing brush (that isn’t metal to prevent any damage to the appliance base) to remove any burnt-on food gently. Continue to repeat this process with the brush until there’s no food or markings left at the bottom.
Step 4: Rinse the Soup Maker
Once you’re satisfied that you’ve scrubbed all of the burnt food from the pan, it’s time to wash any residue away. To do this, grab the soup maker on either side and slowly pour the water down the sink. Then, rinse with tap water and drain again to remove all liquid and remnants of burnt-on food.
How to Prevent Food From Sticking to Soup Makers
Although the above steps are fairly simple, it’d still be ideal not to have to scrub the bottom of your soup maker after every use. In this case, here are some helpful tips to bear in mind when cooking your batch of soups.
The Right Temperature
As with any cooking appliance, cooking at a temperature that’s too high will result in food sticking to the bottom of the soup maker, making it more difficult to clean afterwards.
Fortunately, you can prevent this from happening in the first place by sticking to the recommended temperature in the recipe or even switching to a lower degree. It’s always safer to go low than increase the temperature. It might just mean that your soup takes slightly longer to cook.
If your soup maker doesn’t come with a range of temperature settings, try to keep it on the lower side to be safe.
Stir the Ingredients
When you don’t stir the ingredients in the soup maker, food sticks together and often sits at the bottom of the appliance, making it challenging to clean.
To keep a clean inside, stir the ingredients often, using a wooden spoon—not metal because this can damage your soup maker.
You can also use your spoon to inspect if the bottom of the soup maker feels like there’s burnt-on food at the bottom. If you notice this, increase how often you stir.
Order of Ingredients
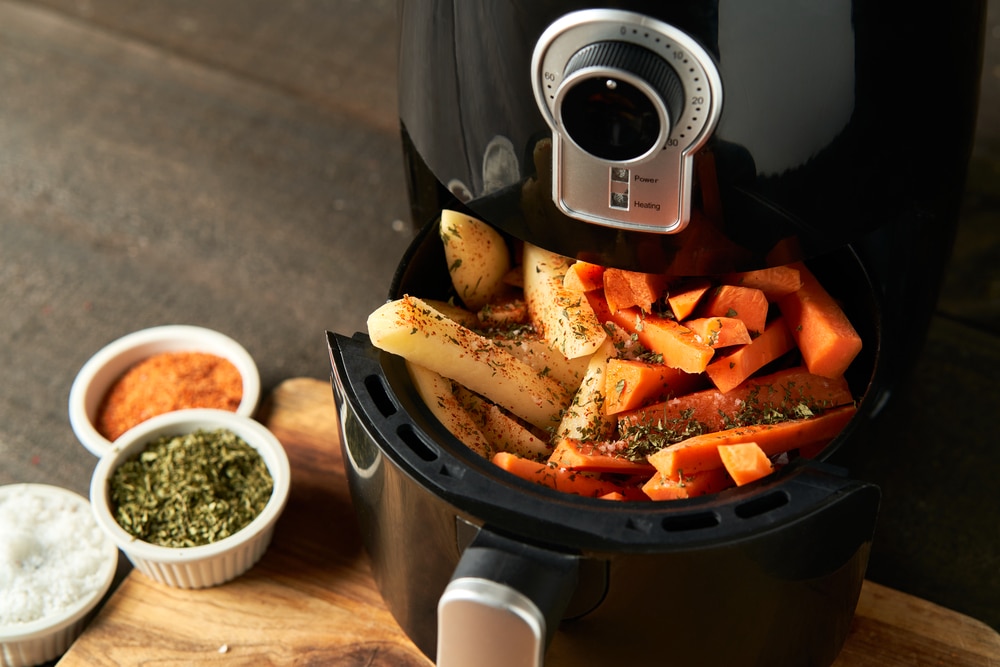
Most people make the mistake of adding solid ingredients to their soup maker first. In particular, starchy foods, such as potatoes are more prone to sticking to the bottom of a soup maker.
Therefore, you’ll want to decrease this problem by adding water to the appliance before adding solid ingredients. This might increase the overall cooking time, but it’ll decrease the chances of burnt food at the bottom of the pot.
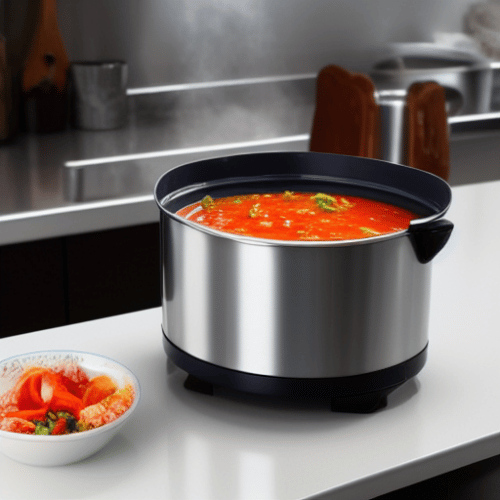
Thick Sauces
It’s not uncommon to add sauce—such as tomato paste—to a homemade soup, but a thick liquid can result in burnt food at the bottom of the pot. To avoid this, dilute sauces before adding them to the soup maker by pouring in some water.
Solid-Liquid Ratio
The ratio between solid ingredients and liquid in a soup maker is important for determining if you’ll encounter burnt soup or not. Ensure that you have enough liquid to prevent you from having to clean a burnt soup maker.
Easy Cleanup After Using Your Soup Maker
Your soup maker won’t require much effort to clean every time, so let’s talk about cleaning your soup maker after each use. Depending on the model that you own, it might feature a cleaning mode that makes it easy to maintain the appliance after every use.
Using this function, you remove the lid, pour in water mixed with washing-up liquid, and add the lid back. Then, switch to the cleaning function and allow this mode to clean your burnt soup maker without any more intervention.
However, if your soup maker doesn’t come with a cleaning mode, add water with a washing-up formula and press the blending function and leave the cycle on for up to five minutes. After that, empty the solution into the sink and rinse with tap water to ensure that there’s no risk of a cleaning solution remaining inside for the next time you make homemade soup.
Top Hacks for Cleaning a Soup Maker
- Always clean the appliance immediately after use.
- Thoroughly clean your soup maker if it’s new to eliminate any plastic flavour and add moisture to the base for cooking homemade soups.
- Try to limit starchy foods if you don’t want any burnt-on food in the first place.
What Cleaning Method Do You Use?
Cleaning a burnt soup maker only requires water and baking soda/biological washing powder and being left to soak overnight. You also only need a scrubbing brush to target burnt ingredients at the bottom. Knowing how to clean a burnt soup maker is an easy process, so there’s no need to avoid it any longer.
By following the steps above, you will find it easy to clean a soup maker in the long run. Hopefully, you find this guide helpful and that cleaning soup makers are no longer a headache for you.
Do you have any other method that you swear by? Share your cleaning hacks in the comments!
Amy is a U.K.-based writer and editor with a penchant for helping consumers find the best home products for their needs, as well as providing easily digestible guides for living better at home. Her dedication to her work means she can usually be found elbow-deep in research or hunting down samples of the latest and greatest on behalf of her readers.
An avid DIYer herself, Amy’s passion lies in teaching others how they too can achieve their dream homes by tackling some of those pesky projects themselves! Whether it’s building furniture from scratch or turning an old dresser into a coffee table, Amy is always happy to share what she knows about making your house feel like home without spending a fortune.