Last Updated on
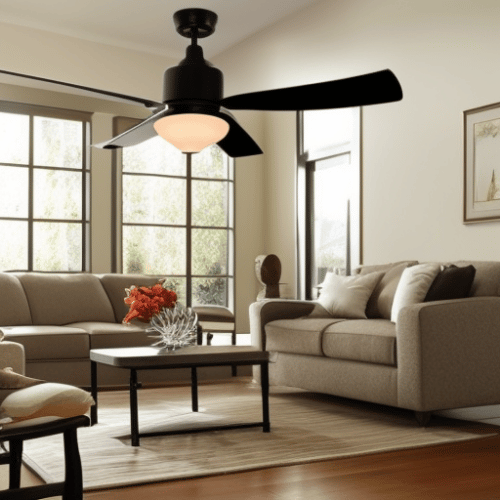
Ceiling fans have become a common feature in homes, even luxury ones. This is because, aside from it keeping a room cool, a ceiling fan also provides aesthetic value. As a result, models today are designed to be attractive and stylish while using elegant materials such as wood and polished nickel.
What’s more, having a ceiling fan in your room can help you cut down your electricity bills since you won’t rely too much on air conditioners.
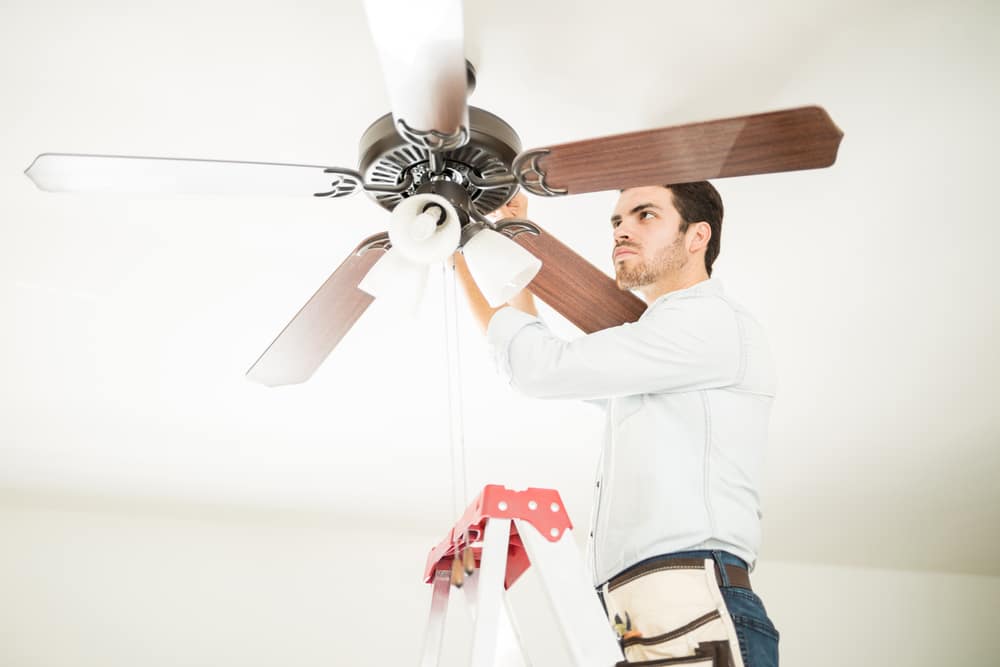
Are you planning on adding a ceiling fan to your home? That is a great idea. Don’t worry. Fitting a ceiling fan is an easy task.
If your room has no ceiling wire outlet, you can easily replace a light fixture with a ceiling fan. You don’t need to look for an electrician who will install a new ceiling fan wiring system. Instead, the new ceiling fan can be connected to the existing electrical cables coming from the ceiling.
In this article, we’ll show you how to install a ceiling fan like a professional.
Tools You May Need While Installing a Ceiling Fan
Before you can get started, make sure you have these tools ready for your ceiling fan installation project.
- Screwdriver
- Caulk gun
- Wire stripper
- Hammer
- Drywall saw
- Ladder
- Screws
- Safety glasses
- Dusk mask
- Voltage tester
- Cordless drill
- Electrician’s tape
- Pliers
- Crescent wrench
Ceiling Fan Installation Guide
When installing a ceiling fan, make sure you do everything correctly to avoid unnecessary repairs. Below is a comprehensive guide on how to install a ceiling fan.
Step 1: Choose the Right Ceiling Fan Size
Ceiling fan blades may vary from one model to another. Due to this, you have to choose the right blade size for your ceiling fan installation project.
For example, if you plan to install a ceiling fan in 75 square feet or less room, you might need a fan with a blade span of about 29 to 36 inches.
However, if the room is bigger than 75 square feet and doesn’t exceed 225 square feet, you should consider installing ceiling fans with a blade span that ranges from 26 inches to 44 inches. If the room is anything from 225 to 400 square feet, then 50 to 54-inch blades might be suitable for you.
Apart from that, it would help if you chose a ceiling fan with a high rotation per minute (rpm). The higher the rotation per minute, the better the breeze.
Step 2: Find the Ideal Spot to Install the Ceiling Fan
The ideal height to install a fan should be 7 to 10 feet above the floor and 8 to 10 inches beneath the ceiling. Also, make sure the ceiling fan is at least 18 inches away from any obstacles, such as doors, walls, cabinets, or posts.
Step 3: Observe Safety Precautions
Switch off the power from a circuit breaker to minimize the risk of any injuries. Make sure that there is no electrical current still flowing after you’ve switched off the power. You can use a circuit tester to check whether there is an electric current on the light fixture.
Go back to the installation site and scan for any obstruction. Don’t forget to read the ceiling fan manual so you can observe any extra precautions.
Step 4: Remove the Existing Light Fixture
Once you confirm that the power has been switched off, remove the light bulbs and glass shade from the fixture. After that, unfasten the nuts and screws on the light fixture mount so you can remove them from the ceiling. Once you’ve lowered the mount, unhook the wires before you completely remove the light fixture assembly.
If you have an old ceiling fan that you want to remove, you can uninstall the light kit, fan blades, canopy, and bracket in that order. Then, put the light kit in a safe place.
Step 5: Remove the Electrical Box
On the ceiling opening, you should see an electrical box that was connected to the light fixture or the old fan. If a joist fastens the electrical box, you need to remove it using a flat bar. However, if the electrical box is nailed to a support bracket, you can unscrew the metal plate and pull it out.
After that, confirm if the electric box is fan-rated or not. It should be able to handle the maximum watts required to run your ceiling fans. If the electric box doesn’t meet the criteria, you can replace it with a new electrical box.
Step 6: Install a Support Brace
If you have an attic, you can easily access the ceiling joists that hold the support brace once you go upstairs. But if you have drywall and there is no way you can access the joist from above, it’s possible to remove and install a new support brace from below.
To install the support brace, you can slip it through the ceiling hole and place it between the joists. The arms of the support brace should touch the joists on both sides. However, the support brace won’t be secure on the joists until you rotate it with an adjustable wrench. Lastly, the teeth should grip the joists after you’re done.
Once the support brace is tightened, attach the U bolt while the bolts are facing downwards. The U bolts should be installed at the centre of the ceiling hole.
Step 7: Install the Outlet Box
If you have a new ceiling electrical box, you should spot a hole on the side. If the hole is sealed, you can drill it. Next, feed the wires through the side hole on the outlet box and secure them on the U bolts.
This procedure should be easy since the electrical box has designated holes at the top where you can slide the U bolts. Next, you have to tighten the screw bolts so that you can secure the outlet box.
Alternatively, you can use a pancake box if you have a single ceiling joist that doesn’t require a hangar bar. The pancake box can be secured directly to the ceiling joist. However, if the ceiling outlet is too small to accommodate the outlet box, you can enlarge it using a keyhole saw.
Step 8: Install a Mounting Bracket
While most ceiling fans come with a mounting bracket, some don’t. However, if your ceiling fan doesn’t have a mounting bracket, you can purchase it separately.
The mounting bracket can be attached to the outlet box while facing downwards using the screws provided in the ceiling fan package assembly box. Next, feed the wires through a hole in the mounting bracket.
If you’re finding it difficult to install, you can read the manufacturer’s instructions.
Step 9: Assemble the Motor Housing Unit
For starters, you need to position the motor housing unit on a flat surface and run the wires coming out of the motor through the downrod.
After that, attach the downrod to the canopy while feeding the main wires through it. The fan canopy attached to the downrod resembles a funnel and sits on top of the motor housing unit. Next, you need to secure the downrod pipe on the motor by tightening the screws using a wrench or a screwdriver.
It would help if you also stripped half an inch of the wire insulators to have a connection point when you mount the ceiling fan.
Step 10: Wire the Ceiling Fan
Lift the ceiling fan motor unit and hang it on the mounting bracket. The ceiling bracket should support the downrod ball, so you can work on the wires without straining. Make sure you rotate the fan until it locks on the mounting bracket, but be careful you don’t shake it too much.
It would help if you made sure the insulators covering the household wires out of the ceiling mount bracket are peeled for the wiring connection. It should be about half an inch to expose the metal wire. It will be easier to connect the ceiling fan wires to the household wires if you do so. You can do this by joining the bare metal wire and dressing them with a plastic wire connector.
However, the tricky part comes when matching the wire colours. So here is what you should do:
- Match the black wire coming out of the fan motor with the black wire coming out of the ceiling mounting bracket. Once you’ve connected both wires, secure them using a wire nut.
- Match the white neutral wire coming out of the fan motor with a white wire on the other side and cover the edges with a wire nut.
- Connect the green insulated or bare copper wire to the ground wire from the electric box. Secure the wires with a wire nut.
- If you’re installing a light ceiling fan, you can connect the black wire from the fan motor to the blue wire from the ceiling mounting bracket and cover the edges with a wire nut. If you’re using a single switch, both wires should be connected to the black wire from the receiver.
- If you are using multiple switches, you can match the blue fan motor wire with the blue receiver wire and secure them with a wire nut.
Always secure the wire connections using wire nuts. The connected wires should form a U shape so it will be easier to snug them into the canopy when you’re done. If the wires are too long, you can reduce them to size using a wire cutter. This helps to prevent the wires from vibrating inside the canopy while the ceiling fan is rotating.
However, do not pinch and disconnect the wires. Also, don’t forget to read the manufacturer’s instructions to ensure you did not miss anything.
Step 11: Fasten the Canopy
After working on all the wires with wire connectors, you should push the canopy upwards to the ceiling mounting plate and align the screw holes. The canopy can be secured to the ceiling plate by tightening the screws on the sides. The connected wires should be sealed inside the canopy.
Step 12: Attach the Fan Blades and Bulb
Finally, you should attach each fan blade to its assembly bracket. If your blades are not installed directly on the motor housing unit, you need to tighten the screws after attaching the assembly bracket. Once everything is set, you can mount the blades to the fan unit.
However, some fans are designed with a quick installation feature, and all you need to do is secure the blades into the keyhole slots without worrying about screws. Similarly, some ceiling fans come with brackets already pre-installed on the blade arms, making them easier to mount.
If your ceiling fan motor features a light socket, screw the correct bulbs and shade for your unit.
Step 13: Test the Ceiling Fan
Go to the circuit breaker and switch the power back on. Once you turn on the wall light switch, the ceiling fan and lights should work. Remember, you should also verify if the ceiling fan can rotate faster or slower on all speed settings. Lastly, you should be able to turn on the ceiling fan independently from the lights.
Step 14: Take Care Of Your Ceiling Fan
Just like other furniture and fixtures in your home, a ceiling fan loses its quality when it’s not maintained properly. So, please find the time to clean it and ensure it has enough oil to circulate properly. Maintaining it also prevents it from making annoying noises, like how old and unmaintained fans do.
FAQ
Installing a ceiling fan may be quite easy, but it’s still common to run into some problems. Here are some of the frequently asked questions about installing ceiling fans.
What Should I Do if My Fan Is Wobbling or Making Too Much Noise?
There might be reasons why your fan is shaking or making too much noise. The fan blades might be loose, or the fan motor may not be secured tightly on the mounting bracket. To fix this, make sure that the ceiling fan is balanced. Next, you need to switch off the power and check if both the fan blade arms and fan motor are correctly mounted.
What if the Ceiling Fan Doesn’t Work After I Turn on the Wall Switch?
It could be a problem with the wiring system. For example, you missed connecting the wires correctly. Another possibility is that the ceiling fan motor is defective, and you need to fix or replace it.
Can I Install a Ceiling Fan by Myself?
Yes, you can! However, in some towns or cities, the electrical wiring needs to be done by a licensed electrician. For that reason, it’s essential to confirm what the rules of your area imply before you install a ceiling fan by yourself. Then, you can contact an electrician before you install a new fan. After that, connect it to the wiring system.
Install a Ceiling Fan and Let It Do Its Magic
A ceiling fan can keep a room cool without making it too cold for the people in the room. Depending on the design, a ceiling fan can also make a room more attractive.
Installing a ceiling fan is quite easy, especially if you have the right home improvement tools and mounting hardware. You need to keep a few things in mind. For example, remember to prioritize your safety and switch off the power from the circuit breaker before you start. In addition, some models have pull chains for controlling the ceiling fan, while others feature remote control.
Also, it’s no shame if you find the process a little bit challenging to request assistance from a friend or an electrician.
Ian loves everything that revolves around the home improvement niche. He loves trying out new home appliances. He has also handled a lot of equipment and has a lot of insight. Plus, he’s worked on various home improvement projects that became a success.
If Ian isn’t busy working on his latest project, you can find him reading up about another one!