Last Updated on
When fitting an extractor fan, there’s a very real need to know what precisely you are doing to avoid a potential major mishap in the future. Thankfully, installing an extractor fan can be significantly easier than people are aware of, but only when you know which key steps to follow.
So, that’s what we are going to do. In just a few moments, you will not only want to install a new fan in your bathroom but also know exactly how to do it.
Why You Need a Fan in Your Bathroom
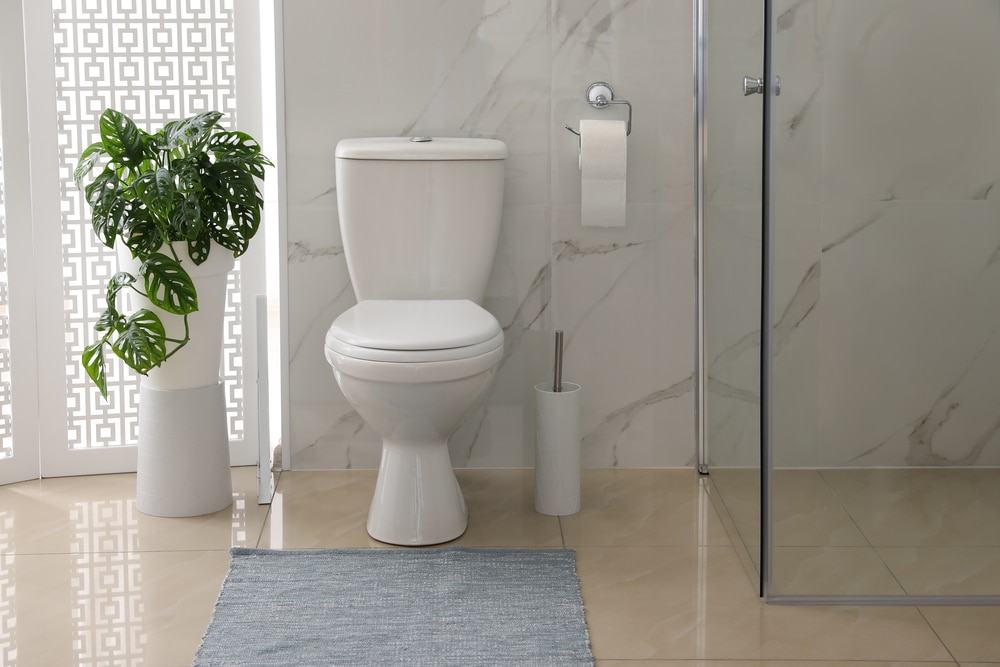
Ventilation in the bathroom is key due to the water and steam that is conjured up on a regular basis. Your bathroom can easily develop mould and other conditions which are not that good for our health.
To fix this problem, you need to think about getting air to flow around your bathroom, and for this, you have a few options.
If your bathroom has a window, keeping it open will definitely help. Alternatively, you may wish to consider adding some sort of air vent to help the air, but that may not have the greatest positive effect.
So, what’s left? The answer is to consider the installation of an extractor fan, and it’s going to be a whole lot easier than you may have anticipated.
These fans are easy to power up via a switch or even when putting on your ceiling light, and they will then open up their vent and allow that hot, steamy air to be extracted from the room.
Also, the installation process will take no time at all, and that applies even if you have limited experience with this sort of DIY project.
So, let’s go ahead and check out what you need to do.
Warning
This is going to involve you needing to drill a hole in the outside wall, and that’s going to be quite nerve-wracking for some people. Ask a professional for assistance if you are unclear on how to proceed.
Step 1: Checking For Wires
The first step is to check for wires before you get your drill bit attached to the drill. If there’s any doubt about wiring, then get a qualified electrician to help you out.
It’s also important you check for any pipes. The last thing you want to do is to drill a series of holes and then find you have burst a pipe.
Step 2: Select the Position
You should take care of selecting your extractor fan’s position to make sure you get the best out of it. The best position in a bathroom is against an external wall and at the opposite end of the room from the door. This means the air will circulate correctly, and the airflow will also be more efficient.
Step 3: Creating the Hole in the Wall
You then need to drill the external wall in order to make the hole. This is where it can get a bit tricky.
The best approach is to get the fan part and hold it up against the wall. Sketch around the edge of the fan, as this shows you the size you need. Then, mark the centre of the fan, as this will be your starting point.
Step 4: The Initial Drill
You need to look at the mark you left on the wall and make your initial drill at that point. This is to start making the hole for the ducting, which goes from the inside to the outside.
But here’s a little tip. Take your drill bit, and angle the drill downwards just ever so slightly when making this initial hole. It just makes life easier for you to make that initial breakthrough.
Step 5: Making Additional Holes
Next, you need to start making additional holes, and you need to use that circle you drew around the edge of the fan as your guide. Space those holes around 35mm apart and do so to complete the circle.
Step 6: Breaking Through the Hole
After you have finished with your drill bit, you need to get your hammer and chisel to make the actual ducting hole. Chip away at the small pieces of wall that exist between the different holes that you just drilled. By doing so, you should be able to break that piece of the wall away without damaging anything else.
By the time you are finished, you should have the perfect hole for your extractor fan.
Step 7: Inserting the Ducting
The next step is to insert the flexible ducting through the hole. When inserting the flexible ducting, do so at a downward angle, and also make sure that the ducting is sitting flush with both the inside and the outside of the wall. If it sticks out, then trim it with a saw.
Step 8: Fix Any Plasterwork
Once the ducting has been installed for the fan, you should then use this time to repair any damage to the bathroom wall. That means working on the plasterwork, as you want to keep things as tidy as possible throughout installing your new ventilation system.
Step 9: Put the Fan Over the Ducting
You then need to take your extractor fan and place it over the ducting. Take a pencil, and make a mark where the fan is going to eventually be secured to the wall.
These fans will generally come with four holes that need to be drilled in order to get everything flush with the bathroom wall.
After marking them, drill the holes, and insert any rawl plugs into the wall, if required. Once you have done that, screw the fan to the wall.
Step 10: The Exterior Wall
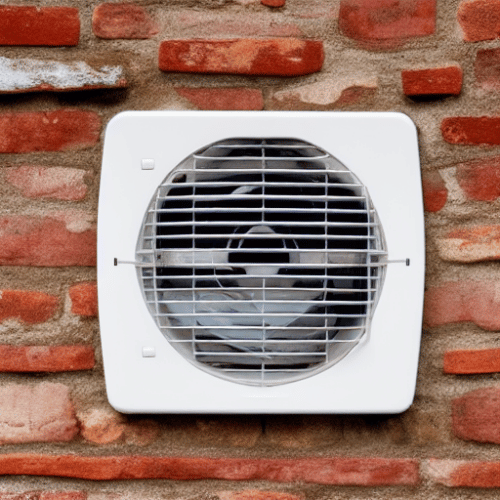
Attention then moves to the outside wall as you now have a hole in the exterior, and you don’t want to leave it like that.
Take the exterior fitting, and place it over the vent hole you just made. Mark where the exterior fitting will be screwed to the wall, and then complete the drilling on the external wall, just like the previous step.
After you have finished, add the exterior fitting to make the outside of the extractor fan look neat.
Step 11: The Electrical Connections
The problem with bathroom fans is that they do come with electrical connections, and this is where you may want to get a qualified electrician to sort things out. You may want to install each part on your own, but sometimes getting a helping hand is better.
You should know that these fans can be connected to either their own switch or will power on as soon as you put on the bathroom ceiling light. How it’s attached may depend on the model as well as your own preference when you come to installing the extractor fan.
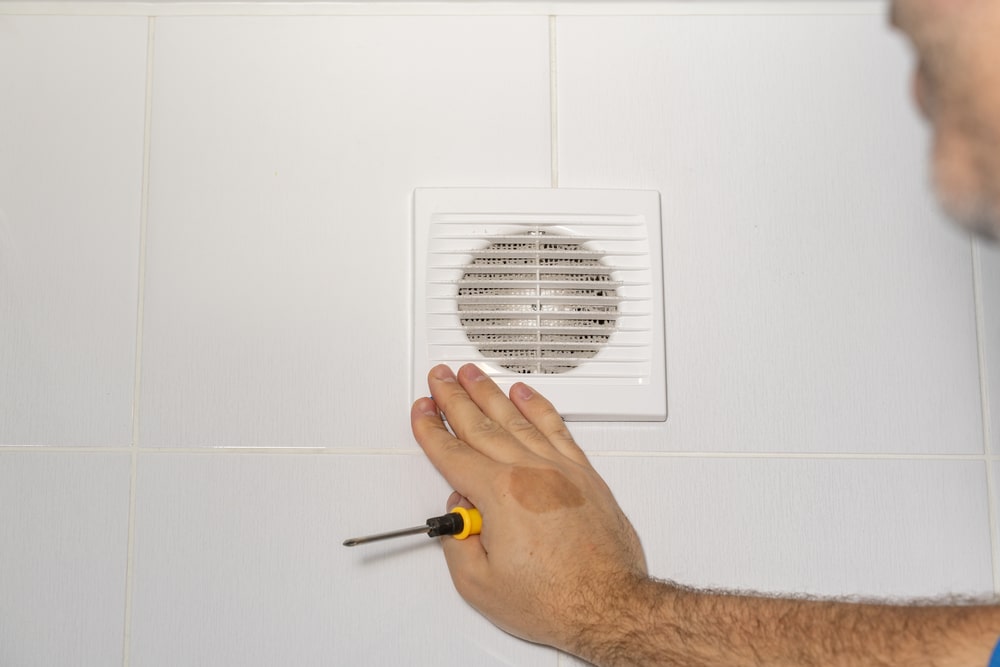
Step 12: The Grill Covers
Once the connections have been made, you need to apply the grill covers to the extractor fan. These fans will have these types of covers for both the inside and outside, so make sure you apply both.
If these covers come with a slat design, then you want to make sure they are put on horizontally. That way, it’s going to function correctly.
Importance of Bathroom Fans
And that’s it. That is all you need to do when trying to install these sorts of fans in your bathroom. You don’t need to put anything through your window, add anything to your ceiling, or worry about ventilation and moisture any longer.
By adding these fans to your bathroom, you will improve airflow and keep moisture to a minimum. Your bathroom will then be free from mould caused by a build-up of damp conditions, and that in itself will make the installation of your extractor fan worth all of the hassle.
Paul is the type of person who never met a problem he couldn’t fix. He can always be found tinkering with something in his house, even if it isn’t broken! His tips and tricks are often shared on our site. He’s the one you call when something breaks because he has been known to improvise fixes for everything from leaky faucets to malfunctioning dryers.