Last Updated on
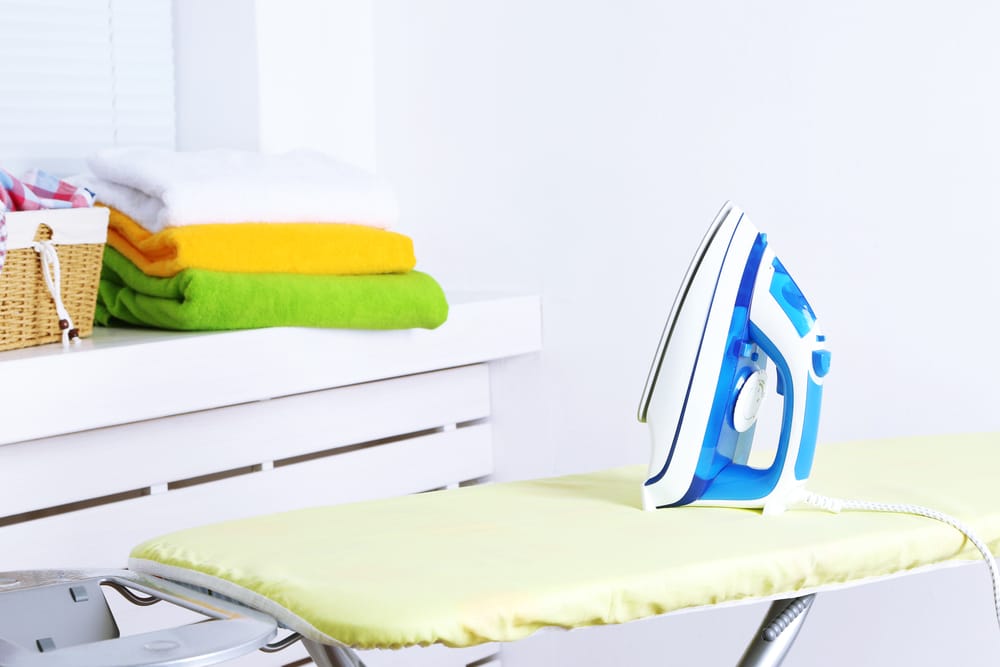
Have you ever wondered how to make an ironing board cover?
Although there are many great ironing board covers available for purchase, even the greatest choices will eventually wear out and need to be replaced. If you’re confident in your sewing skills, a DIY ironing board cover is a great way to save some money and get creative.
The great news is that sewing your new cover might be a lot simpler than you think. You can choose the ideal fabric, ensure there’s plenty of padding for your clothes, and you don’t have to worry about getting the wrong fit.
If you don’t mind working with elastic and you can follow instructions, you’re already halfway there. Here’s what you need to know about sewing a cover for your ironing boards.
Materials Needed for Your Ironing Board Cover
First, you’re going to need to gather the materials for your ironing board cover. Start by measuring your ironing board multiple times to ensure that you know how much material you need. If you don’t want to purchase a pre-patterned piece of fabric, you can also create your design.
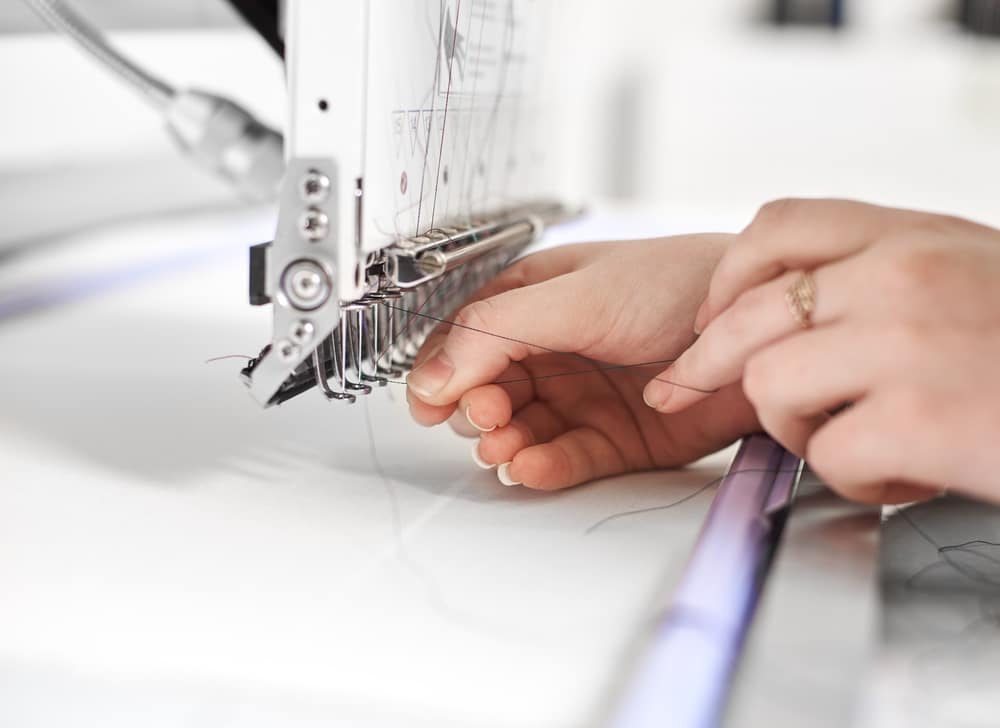
Depending on your skills, there are many ways to combine cotton pieces to get a distinctive appearance. This sewing tutorial should be able to give you enough guidance for your project to start with.
Always be careful when getting your material. If a tutorial says to use 2 yards of elastic of 100% cotton, it’s best to get 3, just in case. You’ll also need insulating fabric, fold-over elastic, or something to hold the fabric to your board. You don’t want to rely on safety pins.
Pull together the edge of your ironing board fabric around your chosen cotton batting. Pin the fabric or use a safety pin to create the curved finish.
Mark the parts of the material you want to sew together on the wrong side (underneath) of the fabric and sew them together to create the edge of your new cover. You can use a safety pin or two to hold things while you work.
Fold the pattern in half from both directions to ensure that the opposite edge of each side matches. Use a ruler or yardstick to draw the fold lines and keep everything straight. Make sure that the cotton cover is cut out on a single grain.
Once you’re done cutting out your pattern piece, begin by ironing your utility fabric and pattern fabric to press out any fold lines. Place the pattern pieces face down so you keep the grain aligned with the fabric selvage. Measure the length of the selvage to the grainline to make sure it’s even, and pin the pattern into place. Carefully cut the utility fabric, using your pin to keep the patterns smooth.
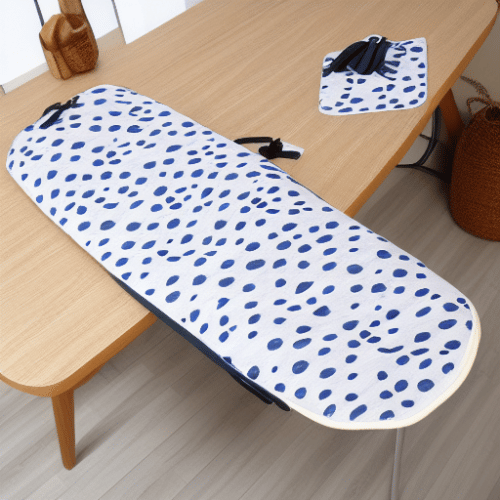
The Best Fabric for an Ironing Board Cover
There are a few different kinds of material you can use for your ironing board cover. Thick and durable materials like cord can be a good choice, and metallic covers are excellent for reflecting heat onto the garment. If you use a metallic material for your covers, ensure that you’re aware of how much quicker your ironing may be done. Don’t expose your clothes to too much heat.
Natural unbleached cotton covers are often the best choice for everyday ironing. Cotton with an elastic edge will help to keep your clothing on the ironing board as you’re ironing. Just remember that cotton can scorch if you get your iron too hot. Be careful to get a durable type of cotton, and use a suitable batting fabric underneath to absorb and disperse some of the heat.
The thicker the cotton or material you choose, the more batting or padding your cover will have. See that the batting is thick enough to create the proper barrier between your iron and the bottom layer of your ironing board. You may need to double-check the padded areas around the edges or seams of the board.
To go with your cotton, you’ll also need a cord to finish off the seam of your cover. Drapery cord I usually a good pick here, and it’s essential to get enough yards to go all the way around your board too.
Making Your Pattern Segment
To make the pattern section of your ironing board projects, follow the instructions below.
Lay the ironing board face down on the material and trace around the outline. Cut around the outline, adding at least 2 inches or more of extra cotton for you to titch your elastic into place.
Pull together the edge of your ironing board fabric around your chosen cotton batting. Pin the fabric or use a safety pin to create the curved finish.
Mark the parts of the material you want to sew together on the wrong side (underneath) of the fabric and sew them together to create the edge of your new cover. You can use a safety pin or two to hold things while you work.
Fold the pattern in half from both directions to ensure that the opposite edge of each side matches. Use a ruler or yardstick to draw the fold lines and keep everything straight. Make sure that the cotton cover is cut out on a single grain.
Once you’re done cutting out your pattern piece, begin by ironing your utility fabric and pattern fabric to press out any fold lines. Place the pattern pieces face down so you keep the grain aligned with the fabric selvage. Measure the length of the selvage to the grainline to make sure it’s even, and pin the pattern into place. Carefully cut the utility fabric, using your pin to keep the patterns smooth.
The Right Padding for an Ironing Board Cover
You will need the right padding to go underneath your ironing board fabric cover. There’s cotton batting available online, or you can use things such as wool felt from fabric stores. Wool won’t hold as much moisture as cotton, but you will need to be confident in your ability to sew the fabric edge pieces together.
If you’re worried about adding the padding yourself, look at your old ironing board cover as a guide on where to fold it into the fabric and where to stitch. Check out your old board to show you how padded your ironing board should be. Once you’re confident with your choice of padding, you can stitch the project by hand, following the line you created with the edges of the other materials.
Alternatively, if your sewing machine is built for quilt making, you can save yourself some time using the machine to finish the stitching here. Follow any tips provided by the device on which thread to use. Don’t stitch the padding itself. Instead, place a thread of elastic or cord within the edges of the cotton to pull around the cotton. You can pull the drawstring to fasten the surface of the material over the padding shape.
Remember to make the padding as central as possible in your cover, so you get an even distance of inches on all the edges of your cover and get the perfect shape.
Using the Right Sewing Methods
Following our guide or a store-bought one to cut and design your ironing board will make things a little easier. You could also create your own step-by-step instructions to help mark where you are at any moment.
When you’re ready to start sewing, make sure that you’ve practised your skills. A zig-zag stitch on the edges of the top layer and second layer of your fabric will be ideal to combine them. You can also sew a line of straight stitching about a half-inch from the edge of the seam. Pressing the edge under can help to prevent burned fingers.
A basting stitch will help your project to look more professional as you connect each layer. You can also sew buttonholes into your project if you’re using a drawstring to hold the fabric around the padding. Use pins as a sign to determine where you want to add your buttonhole.
Lay the fabric straight while you’re applying your pins to make sure everything lines up before you begin the sewing step. You can cut around half an inch of fabric for the bit where the drawstring goes through, using your pins as a sign to guide you. You also need to make sure the buttonholes are durable enough, and then use your elastic or cord to feed all the way around the cotton and batting. Remember, you’ll probably need more than 2 yards of elastic to ensure you have plenty of room around all the layers.
A good tip is to add a safety pin to the end of the elastic so you can more easily find the metal when you’re feeling through the layers.
When you sew the layers of your casing together, make sure you sew as close to the inner folded edge as you can. Bring the layers of the product together as you sew. Pin the edge of the layers to ensure that everything is fastened correctly on your ironing board cover.
Enjoying Your Ironing Board Cover
Once you know how to make an ironing board cover, it is a wonderful way to sew something unique for your home. If you use your ironing board regularly, your choice of cover will be a great way to showcase your personality.
Remember, don’t rush as you sew the various layers of your product. It takes time to get the elastic and layers into place, and you don’t want to find a problem post-project when you’re finished stitching. You will need to be careful when adding elastic, sewing layers, and cutting straight lines on each step.
If you take your time with every step, from the elastic bit through to finishing off your buttonholes, you should have a great cover in no time. If you keep track of each step, you can also use the same strategy to build more covers in the future.
Are you planning to make your own cover? Tell us about it below.
Rebekah is a writer who loves to explore new products and find hacks that make life easier. She has a knack for all things home improvement, health and fitness. So you’ll often find her on Pinterest or browsing Houzz for ideas.
She’s always looking for the next thing to fix up around the house or what gadget might be just right for her lifestyle. Rebekah enjoys exploring new recipes, taking care of her family, and making sure she stays healthy with regular workouts at the gym.