Last Updated on
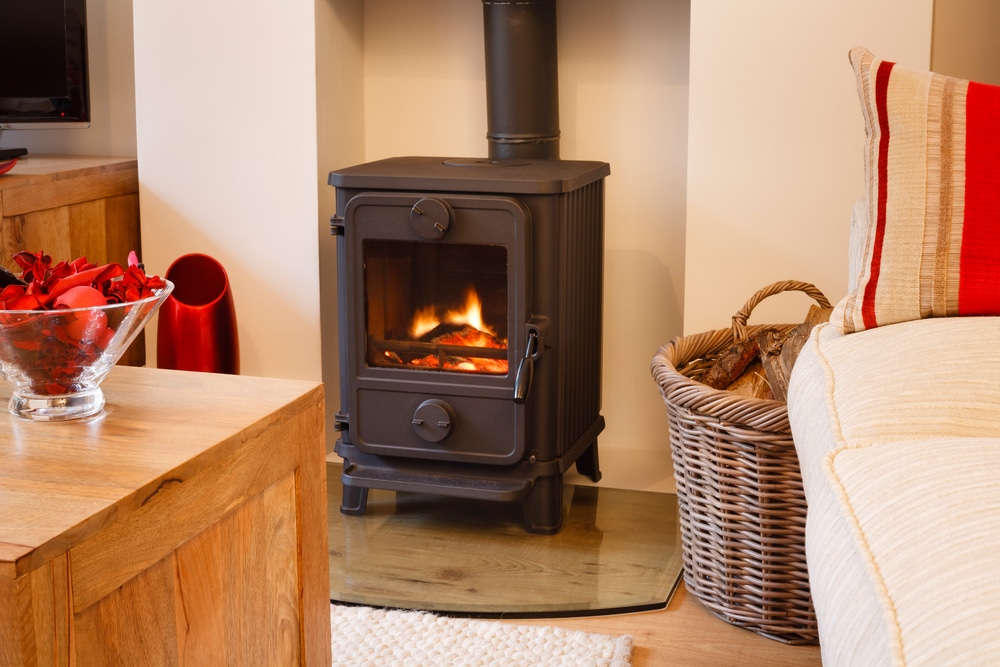
Wood-burning stoves are brilliant items to have in your house or garden. They are stylish and look fantastic, but they are also highly functional. When used appropriately, a gas stove or a wood-burning stove may brilliantly warm your home or outdoor seating space.
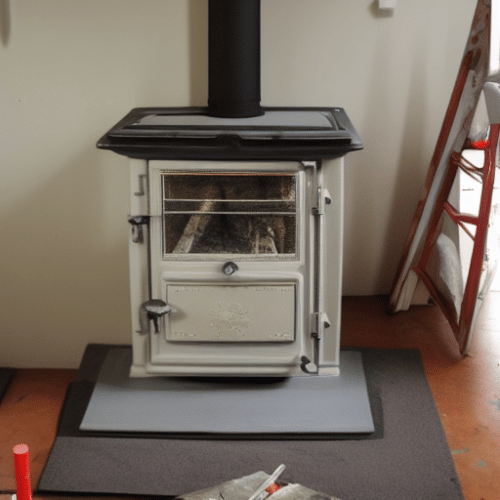
Sadly, regardless of the quality of the paint, the exterior of wood-burning stoves may eventually fade. Over time, they can look tired, and the paint can even peel. Don’t worry – this is a simple thing to fix, as we show in our guide on how to paint a stove – enjoy!
Three Simple Methods for Painting a Wood-Burning Stove
To paint an entire stove and enhance the current finish, there are three major techniques. Two both involve painting but use different paints and techniques. The third is a little different and is more suitable if the paintwork just needs a buff.
Method 1: Using High-Temperature Spray Paint
The most common method is to use special heat-resistant spray paint. Heat-resistant spray paint is designed for use on materials that are subject to intense heat – like a stove. Many people consider heat-resistant spray paint more effective and easier to use than paint and a brush. It is certainly quicker.
Before repainting, you must first clean the surface. Using a brush, remove any dirt and flaking paint so that you have a smooth exterior to work with. Once it is ready, you can then start spraying. Shake the can thoroughly before use. You can also perform a test spray on a piece of spare card or paper.
First, apply a thin coat of spray paint. Let the light coats dry, and repeat the process, adding more thin coats each time. It is better to do spray painting in this way so you can get an even finish.
Method 2: Using High-Temperature Brush-on Paint
The second method is to use heat-resistant paint and a brush. It is more time-consuming, but it can offer greater control. Also, less ventilation and space are required for using a brush. It can also be less messy!
As with spray paint, use several light coat finishes instead of drenching the stove in new paint. By building the paint up, you get a much cleaner finish, and it can help reduce future peeling.
Method 3: Using Stove Polish
Perhaps your stove doesn’t need a full coat of heat-resistant paint. Maybe it just looks a little dull and could do with a buff. Enter the third method – using special stove polish.
You can buy a specially formulated stove and grate polish that works similarly to shoe polish. It is usually available in small tins. The polish is water-based and can be used to cover minor scratches. It also generally enhances the appearance and shine of the surface of your stoves.
To create a better finish, simply wipe some stove polish onto an old cloth and work it into the exterior of the stove. Use a circular motion and make sure you are thorough. Whilst this will not repair cracked paint, it can enhance the overall appearance of the original paint and mean you can avoid a full repaint.
Things to Remember When Painting Your Stove
Stoves are not simple objects to paint. There are many more considerations compared to painting a wall, for example. You must account for the usage of the stove and how it works, and make sure that you are prepared before painting. We look at four things to remember when painting a wood-burning stove below:
Preparation Is Key
You can’t simply open a spray can or paint tin and start painting. Good preparation is needed, and there are several steps involved. Firstly, the stove must be cool. Ideally, you should not have used it for several days, and the appliance should be completely cold to the touch, both inside and outside.
Next, think about protecting the surroundings. If you are painting indoors, make sure that any other furniture and items are covered. You do not want spray paint mist or flecks of paint damaging your furniture. Use a dust sheet if you have one. Even if you are repainting outside, move the stove away from any objects and place it on a protective sheet.
Ventilation
Ventilation is essential when working with any paint. It is especially important when painting a stove. The special paints used are often strong, and the fumes can cause damage or make you feel light-headed.
Therefore, make sure there is adequate ventilation. If you are painting inside, open windows and doors so that the fumes can dissipate. Ideally, you should paint the stove outdoors and leave it outside as it dries. It will minimize any fumes causing an issue in your home.
Using Your Stove After Painting
Always read the instructions for heat-resistant paint or spray paint. It should typically state how long the paint takes to dry. After that, you should not immediately use the stove to create a fully-fledged fire.
It is recommended for the first two fires, you should only use kindling. Also, the first two fires should only burn for between 15-20 minutes. The second of these two fires should be burned whilst the stove surfaces are still hot. After that, you can then create a full fire which should burn for a maximum of 60 minutes. It should effectively cure the paint surface and stove. Once these three fires are complete, you can start using the stove normally again.
Staying Safe Whilst Painting a Stove
Safety is a key consideration when performing any DIY task. First, you must never try and move or paint the stove whilst it is hot. These devices retain heat and can therefore cause burns if not cooled properly.
Next, we advise wearing safety glasses, protective gloves, and a dust mask when painting the surface. Even if you are using a paintbrush instead of spray paint, it is still advisable to be protected. The paint fumes can damage your lungs.
Finally, consider the weight of the stove if you need to move it. Cast iron stoves can be extremely heavy. Don’t try to move one on your own – always seek assistance with lifting!
Start Painting Your Stove
As you can see, keeping your stove looking fantastic and vibrant is relatively easy. You just have to have the correct paint and know how to paint a stove correctly, as well as understand how the appliance works. If your stove paint looks a little tired and peeling, why not use this guide and try repainting it yourself?
Paul is the type of person who never met a problem he couldn’t fix. He can always be found tinkering with something in his house, even if it isn’t broken! His tips and tricks are often shared on our site. He’s the one you call when something breaks because he has been known to improvise fixes for everything from leaky faucets to malfunctioning dryers.