Last Updated on
Although wood is beautiful in its natural appearance, all exterior woodwork looks excellent with a good coat of exterior wood paint. Besides looking good, exterior wood paint also has many useful benefits. For example, painting external wood adds the necessary layer of weather resistance. Nature, after all, is unpredictable and full of rain, snow, sun, wind and more. All of these elements of nature can potentially damage your exterior woodwork.
Therefore, it is essential to treat your wood to improve its longevity and appearance. Here’s how to paint exterior wood so you can enjoy your wooden features for longer.
Let’s Get Started
Wood surfaces, especially outdoor woodwork, should undergo a good quality paint job. Painting outdoor surfaces, particularly those constructed of wood, involves more than merely applying paint to bare wood. You need to do a thorough process to treat your bare timber before you can get to painting it.
Protect Your Surroundings
Cover any surrounding objects with a sheet or lay some plastic down on the ground around your project. You will want to contain the dust and the paint as much as possible. Paint can be difficult to remove from different surfaces, so protect anything that isn’t supposed to have paint on it.
Get a Smooth Surface
Before you go about painting wood, you need to have a surface smooth enough to handle paint. You can do this by sanding down the entire surface of your wood.
Remove Prior Paint
If you have a piece of wood previously painted, you need to remove any existing paintwork. It is especially true if any exterior surface, not only those made of wood, has paint that is flaking off. It can be done using various methods:
Pressured Water
The first way that you can remove prior paints from a wooden surface is with pressured water. You can do this by using a pressure washer or simply a garden hose. To use pressured water to remove paint from outdoor woodwork, simply turn on the machine you choose to use and spray the water on the flaking paint of your exterior woodwork. Keep this action going until that exterior surface is free from any remaining flaking paint.
However, it must be noted that one feature of pressured water to remove colour that makes wood vulnerable is that it can damage a wooden surface in the process. Some outdoor woodwork, such as window sills and garden furniture, can easily become damaged if you want to remove an existing paint system by spraying it down with pressured water. Due to this, one of the other options may be a better option if you need to work on delicate pieces.
Sandpaper
A different way of removing pre-existing colour from previously painted wood surfaces is with abrasive paper. An abrasive paper is also sometimes called sandpaper. To prepare outdoor wood before you get around to painting it with a fresh coat, rub your sheet of sandpaper over the entire piece of exterior wood. Repeat this action until there is no old paint remaining on your outdoor woodwork.
This is quite a labour-intensive method of removing paint, so it may only be suitable for smaller jobs.
Metal Brush
Adding on, another way of getting rid of pre-existing colour on wood is with a wire brush. A wire brush is a wooden handle that has multiple thin wire bristles attached to one end. To prepare wood for your future painting project, using this method, take your tool and scrub it along the outside of your wood. Continue doing this scrubbing action until all of the old top coat of paint is gone.
Like sandpaper, this technique will require more effort but should be easier than using paper alone.
Clean the Wood
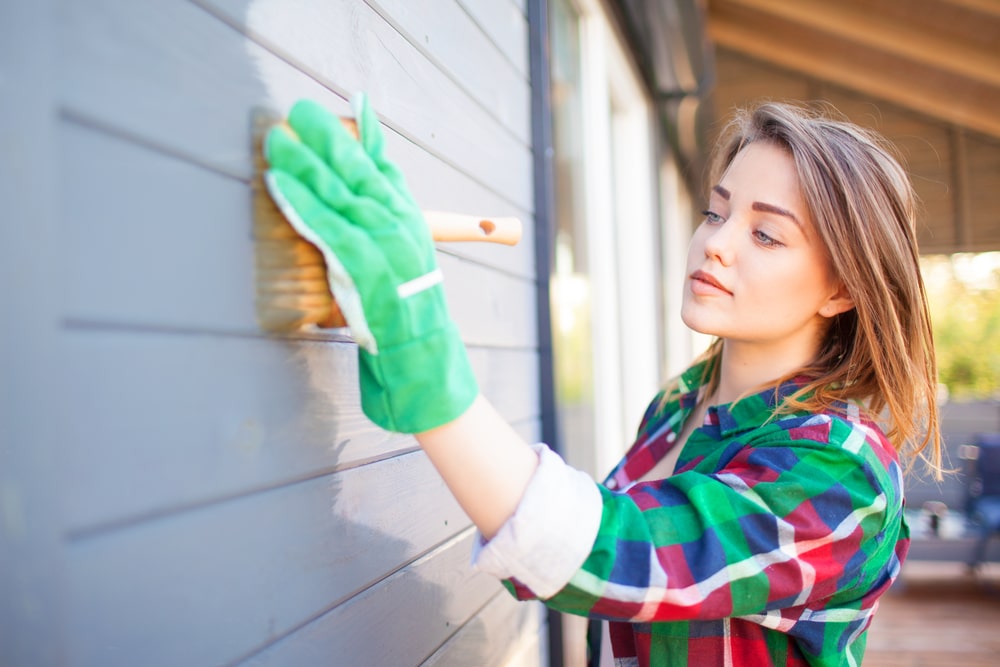
Use a soft-bristled brush and some dish soap to clean away any grime that may have accumulated on the wooden surface. You will be surprised at how dirty these items can get, which will make all the difference to the final result. You can also use a pressure washer for this job as long as your project isn’t too delicate; work from top to bottom to force the dirt out from all of the crevices.
Make sure you rinse off the soap thoroughly and leave the wood to dry completely before getting started.
Other Blemishes
While removing the old colouring from your piece of woodwork, you might have noticed it has some holes, cracks, or other blemishes. These blemishes need to be fixed before you add any coats of colour. Patching holes should always be made. Patching holes can be made with suitable products, such as wood filler, that are designed for this task.
To use wood filler to patch holes and cracks in your woodwork, you need to take a scoop of wood filler out of the container that it came in with a putty knife and apply it to the hole or crack found in your wood woodwork. After that, scrape off any extra wood filler so you leave an even level on top of your woodwork. Let this area become dry completely.
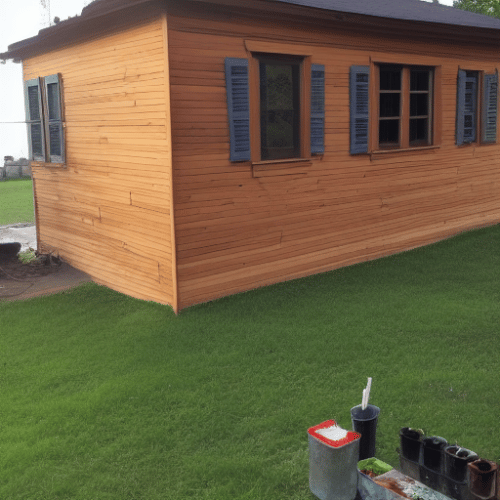
Painting Your Exterior Wood
When you have finished the previously outlined above steps, you can now add some colour to your woodwork.
Choosing the Right Wood Paint
You need to choose the right wood paint before you add colour to your woodwork. In today’s world, there are many different types of wood paint that you can use.
Types of Exterior Paints
There are many exterior paint options that you can choose from for your woodworking project. For instance, you can choose to use an exterior wood stain which tones your woodwork instead of changing it to a dramatically different colour. Of course, there are also a ton of exterior paints that you can choose from for your woodwork if you want to try something new. If you want your woodwork to have a shiny finish, then you can use exterior gloss paints. In contrast, wood oil protects the wood without giving it much more of a colour and brings out the existing grain of the wood.
Finish
Think about what kind of finish you want your project to have. The matte finish is completely non-reflective, which will help disguise any blemishes there may be. Gloss is the most durable of them all and works great in areas with lots of traffic. Meanwhile, satin is a good combination of them both.
Applying a Primer
Now that you have the right colour for your woodwork, you need to choose and apply a primer. Some paints come with a primer included; therefore, you may be able to skip this step. But a primer helps to seal the wood and provide a better finish once you apply your paint. Primers are often quick-drying, so all you have to do is apply it and wait a few hours for it to dry before getting started.
Painting the Wood
You may need to apply several coats, so take a look at the drying time before getting started to make sure you have enough time. Always check the weather forecast to ensure that it won’t start raining and ruin all of your progress.
You can use either a brush or a roller to apply the wood, but think about which will be more comfortable for you; a roller usually takes less time but won’t get into crevices as a brush can.
Apply the paint generously but try not to leave behind any blobs or streaks, as it will only make applying the second coat harder. Leave the paint to dry before applying a second coat. Use long brush strokes for the best results.
Start Painting
Now that is how to paint exterior wood! If you don’t miss a step and take your time to do it properly, then you can enjoy fresh-looking fixtures in no time!