Last Updated on
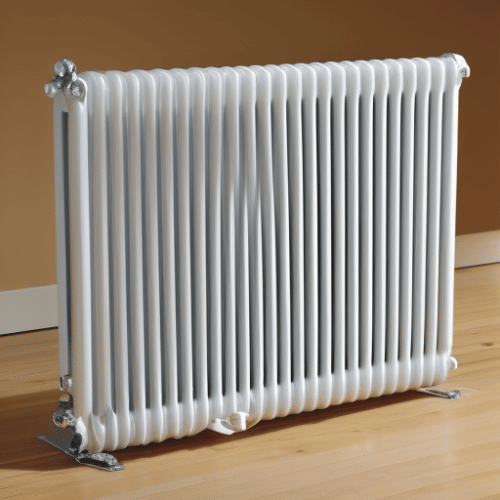
Since most radiators are installed on a wall, painting the backside of a radiator can be a hectic task.
In most instances, you might not be able to paint the backside of your radiator if it’s still installed on a wall. While some tools might access the back of a radiator, they do not paint it entirely. Such tools might not apply the paint on hard-to-reach areas.
Removing a radiator from its initial position makes it easier for you to paint behind it and give it an even finish. You need to remove the whole unit while decorating it. In this post, we will show you how to remove a radiator to paint behind it. Let’s dive in.
Tools That You Might Need While Removing a Radiator From a Wall
Here are some of the tools that you might need to remove the radiator from a wall:
- A high-quality radiator bleed key
- Bowl and a bucket for water collection
- Adjustable spanner for loosening nuts
Step by Step Guide on How to Remove a Radiator From a Wall
Step 1: Turn off the Central Heating System
The first thing you need to do is turn off the central heating system in your home. It minimizes the risk of any injuries caused by the radiator. Once you turn off the heating system, let the radiator cool off for about 30 minutes. If you don’t shut it off, hot water might injure you.
Step 2: Shut off the Radiator Valves
Before you shut off the valves, make sure that your radiator is completely cool. After that, check whether the heating system is off or not. If the heating system is on, the radiator might injure you. Then you can shut off the valve to stop the water flow.
After that, you have to turn the knob of the TRV (thermostatic radiator valve) to shut it off. A TRV is a special type of valve that regulates the amount of hot water that flows through your radiator to change the overall temperature in a certain room.
Most thermostatic radiator valves have certain marks that guide you as you are turning the TRV. Ensure that you turn the valve until it stops at the ‘off’ or ‘zero’ calibration.
Use different tools to turn off the lockshield valve that is found on your radiator. A lockshield valve is a special valve that regulates the rate of temperature change by changing the pressure of water. You can use it to speed up or reduce the rate of heating in a specific room.
Remove the plastic cap that is found on the lockshield valve to access the spindle. Use a strong wrench to turn off the valve. Rotate the wrench in a clockwise direction, then count the number of complete turns that the wrench makes. Write down the number of complete turns that the wrench made on a notebook. It makes it easier for you to adjust the pressure setting once you reinstall the radiator on your wall.
Step 3: Drain the Water That Might Be in the Radiator
Since a radiator regulates the temperature of a room using water, you have to drain the water that might be in the tubes of the radiator. Place a bowl under the valves of the radiator, then unfasten one valve at a time. You have to use an adjustable spanner to unfasten the valves. Unfasten the nut that connects the valve to the main unit of the radiator. Once the nut starts to become loose, water will start draining from the radiator. Drain it into a bucket.
The next thing you need to do is remove extra water from the radiator by opening the bleed valve. You can use a radiator bleed key to turn the fastening in the bleed valve until it becomes loose. Once this happens, water will drain from the anterior compartment of the radiator. Use a bowl to trap the water that drains from the radiator, then pour it into a bucket. You can also place a towel below the valve. A towel can help you dry off some of the water that flows from the radiator.
Step 4: Loosen the Nuts on the Other Valve
Next, you need to loosen the nut on the other valve, following the same steps you used to unfasten the first valve. Just place one wrench on the valve’s body, then use the other wrench to unfasten the nut that connects the valve to the radiator. Drain the excess water that might be in the main compartment into a bowl.
Step 5: Remove the Radiator From the Wall Brackets
Most radiators are heavy, so you have to be quite careful while disconnecting them from a wall. Lift the radiator gently and remove it from the brackets that might be supporting it.
On the other hand, if the weight of the radiator is too heavy, you can ask for some help from a friend.
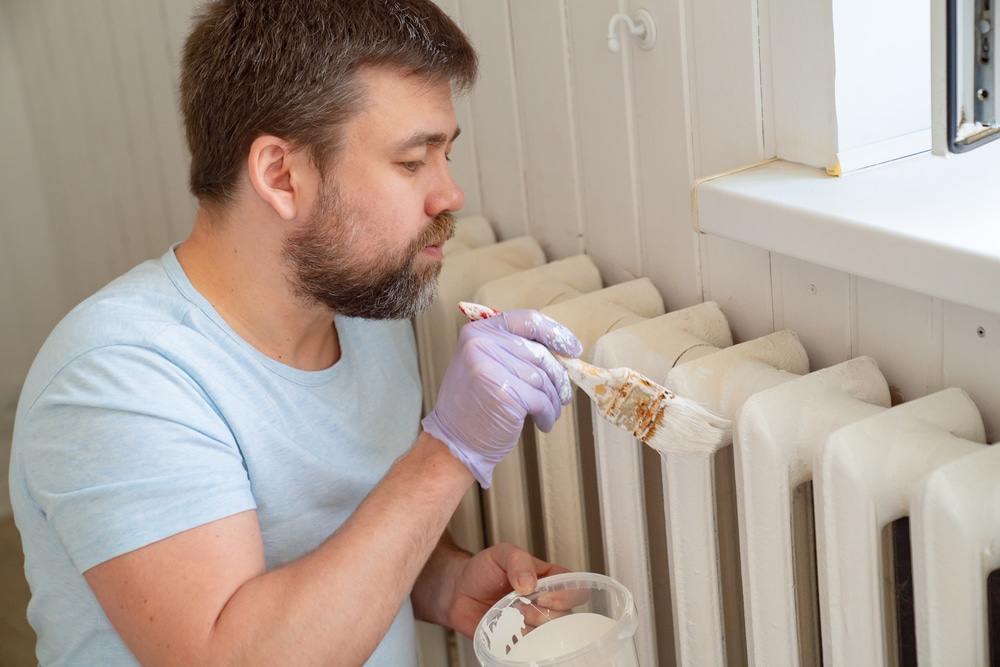
Lift the radiator, then place it gently on the floor. You can also set a sheet on the floor and then place the radiator on the sheet. Radiators have to be placed in a safe place. After that, you can paint behind your radiator easily. Make sure that you use heat-resistant paint to decorate it. Painting radiators become easier if you can access the backside.
A radiator should be placed on a smooth surface which is free from obstacles. Such obstacles might damage some of the components of the main unit.
Start Painting Your Radiator
Knowing how to remove a radiator to paint behind it is handy to know so you can paint not only the back of the wall but also the wall behind it, too!
While disconnecting a radiator from a wall might seem daunting, taking a radiator off the wall is an easy process. However, you have to take precautionary measures before you take off a radiator from a wall. Turn off the radiator, and make sure that you switch off all the valves. Once you unfasten the nuts, use towels to dry your floor.
Have you ever removed a radiator to paint behind it? Do you have other tips to share with us? Let us know your thoughts below.
Ian loves everything that revolves around the home improvement niche. He loves trying out new home appliances. He has also handled a lot of equipment and has a lot of insight. Plus, he’s worked on various home improvement projects that became a success.
If Ian isn’t busy working on his latest project, you can find him reading up about another one!