Last Updated on
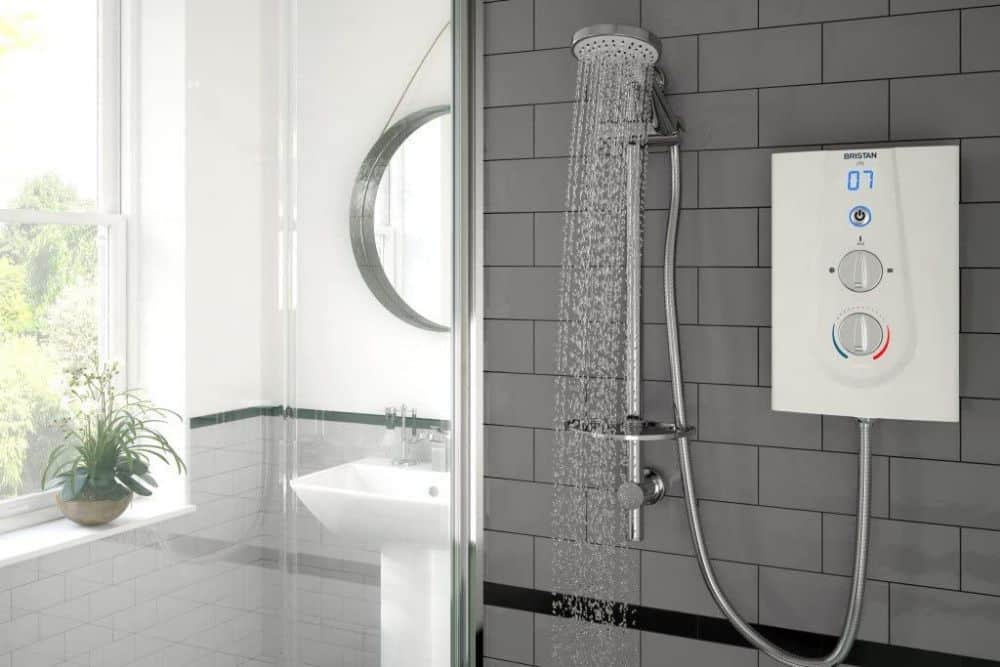
Being able to replace an electric shower sounds as if it would be a difficult task. Now, we aren’t saying that it’s the easiest thing in the world. However, there are a few steps that you can and should follow to be able to replace an electric shower unit yourself.
Although installing an electric shower from scratch is a little more difficult, it doesn’t necessarily need professional assistance. In this article, we will guide you through replacing an electric shower, which is easier as you already have most of the necessary components and blueprint of your old electric shower available.
So, with some basic knowledge and with the tips and steps that will follow, you should be able to replace your shower unit.
Steps When Replacing an Electric Shower
If you are all set up, follow the steps below to make sure you are replacing your electric shower the right way.
Step 1: Disconnect the Power
Remember that you are dealing with an electric shower and that safety always comes first. This means you need to disconnect the power to your bathroom to make sure that everything is dead. This is a basic step, but one that should never be overlooked as power and water do not go well together, especially when the power supply is still switched on.
Also, you need to remember and turn off the water supply. You don’t want water flowing everywhere when trying to pull off the old connection.
Step 2: Remove the Old Electric Shower Unit
You should remove the old electric shower unit after shutting off the electricity and water supply. Exactly how you do this depends on the model that was installed.
In most cases, the shower unit is held together by four screws. Undo them at this point to take off the front cover. You will move on to dealing with the rest of the unit later.
Step 3: After Removing the Front Cover
Remember that electric showers still have a water supply along with an electric supply. Both have to be disconnected from the shower unit to install your new shower.
With most electric showers, the connections will be inside the unit, which is why you need first to remove the front cover of the existing electric shower to see where those connections are located. Once you find them, undo the connections to free the old unit completely.
As a general rule, the connections come through the backplate of the unit. You may need to use a few tools to loosen the old connections, and if the unit has been there for some time, it may be tough to get them loose.
Step 4: The Actual Shower Installation
As you have now disconnected your old electric shower, you need to move on to the new shower. Luckily, this shower installation is easy, even with limited knowledge of how replacing an electric shower works.
The first step is to look at the supply to the shower. Is the water supply and electrical supply going to the same location as the old unit? If so, then you are in luck, as this will be easier to install than you could imagine. If not, you may have to get a plumber to change the connection or an electrician to help with that part.
Step 5: Marking the Unit on the Bathroom Wall
Get your new unit, and hold it onto the wall. Mark the points where the unit will be attached to the wall, as these holes may not line up perfectly between the replacement and the previous shower.
If they do not line up, you need to drill new holes to make sure the screws can fit. Ensure you install a masonry bit on your drill, as this reduces the chances of you smashing some of your bathroom tiles.
Step 6: After the Drilling
Once you have finished with your drill and put rawl plugs into the holes, you then need to remove the front cover of the new electric shower unit, as it is now ready for installation.
The reason for removing the front of the unit is to make it easier for you to get to the electrical and plumbing connections and the backplate.
Step 7: Installing the New Connections
You then need to go ahead and start installing the new connections. If you are concerned about this part of the installation process, then consider hiring a qualified electrician or plumber to help you out.
Feed both the electrical and plumbing connections through the backplate. You then need to make sure that they are firmly fixed into place, as you don’t want that connection to the water pipe coming off at any point. Double-check that they are all tight before you move on to the next step.
Use a wrench when dealing with this part of your electric shower installation, as a wrench helps tighten the pipes and reduces the chances of a leak when you are done.
Step 8: Check the Wires
The wiring also has to be double-checked to make sure everything has been put into position correctly. Once again, if you are not experienced with this, ask a professional to make sure there are no problems. Don’t be shy to ask, as you may need help to ensure that you get hot water.
Step 9: Add the Front Plate
The final step is to add the front plate. You should be ready to check your electric shower replacement unit and see if you have installed the electric shower correctly.
Step 10: Checking Everything Once More

The installation process is now complete, and your electric shower is ready to go in your bathroom. You shouldn’t have a problem with your new shower having a higher wattage, so there should not be a power surge.
Remember, even if your electric shower is new, you still need to maintain it properly. Make sure you always clean it. If you see any limescale build-up, you also need to ensure that you descale it properly.
A Fresh Start
The key part of this installation is the power supply. The electrics are the most important aspect, as they turn cold water into hot water via the heating element. Make sure all the wires are correctly fitted, or you will get cold water flowing through.
Finally, it would help if you turned on the water supply and the electricity supply. Then, turn on the shower and check if the water does indeed get hot.
If water is coming out and you can regulate the temperature – congratulations, you have done it!
As you can see, there are not that many steps when it comes to installing these showers. Yes, it means you have to deal with electricity and a water pipe, but they are less scary than you imagine. However, you always have the option of using the services of professionals if you run into problems.
Paul is the type of person who never met a problem he couldn’t fix. He can always be found tinkering with something in his house, even if it isn’t broken! His tips and tricks are often shared on our site. He’s the one you call when something breaks because he has been known to improvise fixes for everything from leaky faucets to malfunctioning dryers.


