Last Updated on
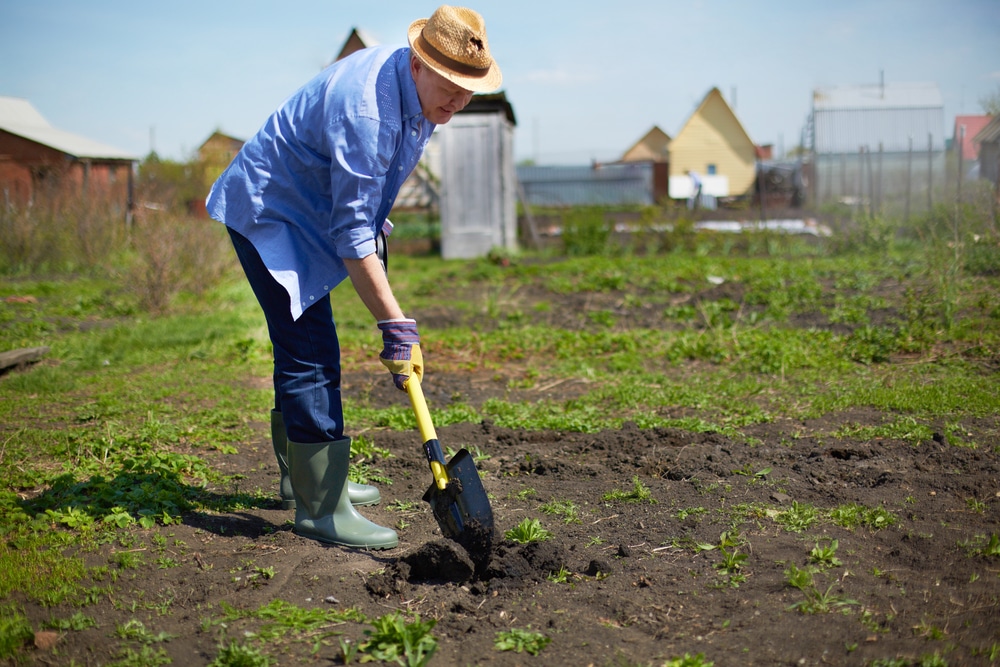
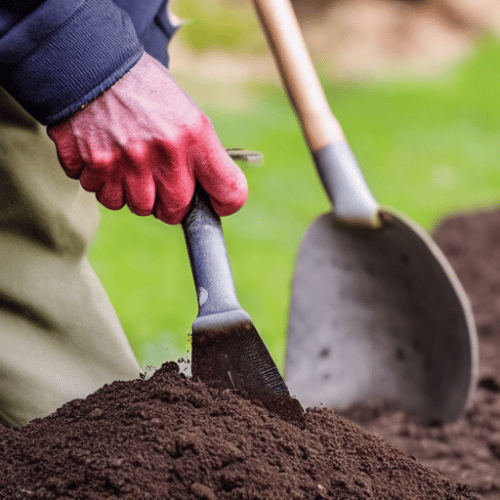
So, you have brought out your garden spade, but it doesn’t seem to quite cut the mustard, so to speak. In that case, what do you do?
Well, you could throw it away and get a new one, but why should you? Instead, there is an alternative, and that’s to sharpen it.
You see, getting a brand new sharp edge on your spade is easier than most people think; this is how to sharpen a garden spade.
The Tools You Need
You need to be aware of the tools needed to restore the sharp edges of your garden spade before we start the steps. Thankfully, you don’t need too many items, so keep these tools in mind before you get started.
- Safety equipment – gloves, goggles as a minimum
- Steel wool
- 8″ to 12″ mill file
- Grinder
- Clamps
Please note that depending on the method you intend to use, the grinder and clamps are optional extras.
A Step-by-Step Guide to Sharpening a Garden Spade
So, after sorting out the tools, let’s see how you sharpen garden tools.
Step 1: Secure the Spade
The first step is to secure the spade. You need to attach the tool securely to clamps to ensure it cannot move anywhere when you get to work on it. You can use either a vice or clamps, whichever one you have to hand.
But then you need to think about the positioning of it. Start with the spade sitting in a horizontal position, and have the front part of the spade blade facing upwards.
Step 2: Safety Equipment to the Ready
The next step is to get your safety glasses out before you go ahead and start trying to sharpen an edge. Remember, you are dealing with metal, and trying to sharpen metal will often lead to small pieces shooting off. You don’t want them getting into your eyes as they could cause some serious injury.
Step 3: Remove Rust
Next, you need to deal with any rusty surface. With this job of trying to sharpen gardening tools, rust is not going to be your friend.
The problem is that rust can damage the file you will use to get those tools sharp. So, you need to remove it.
The best way is to start by trying to scrape over the entire blade. You may want to dig out a wire brush to help with removing as much of the rust as possible, but steel wool being rubbed over the spade should make a huge difference.
Once you have removed the rust, wipe the spade down, and then throw on something like WD-40. It will make it harder for that rust to reappear in the future.
Step 4: Look at the Edges
After the rust problem has been dealt with, we recommend you start checking out each side of the blade. There are several things to look out for at this point.
First, is it a good edge? By that, I mean it has no marks on it, and the only problem with the spade is that it has indeed lost its sharp edge.
Next, does it have any nicks or breaks in the metal? Are there dents or bevels along any edge?
If there is some damage, you can either use a mill file to help straighten things out or an angle grinder. The angle grinder is the fastest and easiest option, but a file will still do the job if you don’t have one to hand. The only problem is that it will take longer to sort out a bevelled side.
Sharpening Your Spade
Method 1: Using a Grinder
So, with a grinder, you can either use a bench version or a hand-held version. Both will work just as well.
With this approach, protect your ears from the noise and your eyes from the sparks. Keep the grinder moving over the spade edge to sharpen it.
Move the grinder slowly and without too much pressure. You don’t want to use it for too long to avoid overheating. Also, too much power will lead to you going beyond sharpening your spade and instead will give you a weaker edge rather than a sharpened edge.
Pay close attention to the edge as you move the grinder. You basically want the metal of the spade to look clean and as if it’s brand new.
Understanding the Angle
You need to remember that the edge of your spade must come with a relatively sharp angle. If not, then your spade will be blunt and ineffective.
As a general rule, you want to hold the grinder at a slight angle when coming into your spade edge. By holding it at a slight angle, it sheers off part of the metal, thus creating that blade-like appearance at the edge of the spade.
Don’t worry about doing the same on the opposite side of the blade, which means back and front, as it can weaken things too much. Instead, select a sharp side, and stick with it.
Cleaning Everything Off
Even though a grinder is fantastic at preventing burrs, you still want to run over with some steel wool to clean it off. After that, your spade is ready to be used.
Method 2: Using a File
Moving onto using a file now, you should be using at least a 10″ mill file to get the best results. This approach does require some elbow grease, but you want your file to have a single-cut pattern on its face.
It will allow you to move the file over the spade or shovel and remove some metal while only going in one direction. Do not use the file in two directions, as it will overdo things, and you will ruin your spade.
Holding the File Correctly
You want to hold the file to the same angle as the current bevel on the shovel. However, if no bevel exists, then keep the file to around 45 degrees. That should help create the perfect bevel when also creating a new sharp edge.
Always push the file away from you. In other words, move the file forward. That’s the way their blades and the file’s teeth are designed to be used, so don’t do multiple strokes. Instead, do one stroke, lift, and then repeat. Also, don’t hang around in one spot. Move around the shovel, sharpening each part as you go.
Remove the Burr
Once you have moved over the entire edge of the shovel, you need to remove the burr that’s created by the file. Use steel wool to brush over it to leave a sharpened edge on your spade.
Start Sharpening Your Garden Spade
And that’s how to sharpen a garden spade. Sharpening garden tools shouldn’t be difficult, and as long as you have the correct tools, you should have a sharpened blade in next to no time.
You no longer have to throw a tool away just because your previously sharp spade has lost its lustre. With minimal effort, your spade can be like new, and you can use the same methods on other garden tools as well.
In the space of less than an hour, you can have a razor-sharp tool in your hands once again.
Paul is the type of person who never met a problem he couldn’t fix. He can always be found tinkering with something in his house, even if it isn’t broken! His tips and tricks are often shared on our site. He’s the one you call when something breaks because he has been known to improvise fixes for everything from leaky faucets to malfunctioning dryers.