Last Updated on
To sharpen your hedge trimmer, you will need a few tools to do the job correctly. To be honest, sharpening your hedge trimmer is something you should be doing at least once a season to ensure that those hedge trimmer blades are in perfect working order.
Your hedge trimming experience will take longer and won’t be as enjoyable as it could be if you don’t. Therefore, we have put together this brief guide on how to sharpen a hedge trimmer correctly for you in order to help you avoid any inconvenience.
The Difference a Sharp Hedge Trimmer Makes
You need sharp blades to do an excellent job of trimming your hedge. Cutting through those branches will lead to the teeth becoming blunt, and you won’t have such a smooth outcome as a result.
Now, some people think this is the end of the hedge trimmer, and they then spend money buying something else, but this is crazy, as there is a much better solution: sharpening the blades.
Not only can performing this simple maintenance task save you money, but if you read the steps, you’ll see that it won’t take very long, even if you only have a mill file on hand.
When Is It Time to Sharpen Your Hedge Trimmer?
But first, when and how do you know that it’s time to start sharpening those hedge trimmer blades? Realistically, you are going to pretty much notice when the blades are blunt. The teeth are simply not going to cut through the hedge, or they will hack away at it rather than create a clean cut.
However, you shouldn’t allow the blades to get to that stage.
Instead, it would help if you sharpened those blades once a season or once a month in the height of summer and if you use your hedge trimmer a lot. A sharpened blade will make swift work of those branches, and the process of creating that newly sharpened blade won’t take you too long.
So, how do you do it?
Step-by-Step Guide on How to Sharpen a Hedge Trimmer
Step 1: Make Sure the Device Is Disconnected
It may seem like an obvious step, but you would be surprised at how many people begin sharpening the hedge trimmer blade while it’s still plugged in. So, if you have an electric hedge trimmer, then unplug it.
If you have a petrol hedge trimmer, then remove the fuel source.
Step 2: Use a Flat Surface
You need to use a flat surface when trying to sharpen your hedge trimmer. It makes everything a whole lot safer when dealing with those blades, so make sure it’s resting on a flat and stable surface.
Also, make sure you can get around the blade and table instead of turning the blade. It’s easy to move around the table when dealing with your hedge trimmer blades, and a flat surface will be perfect for this task.
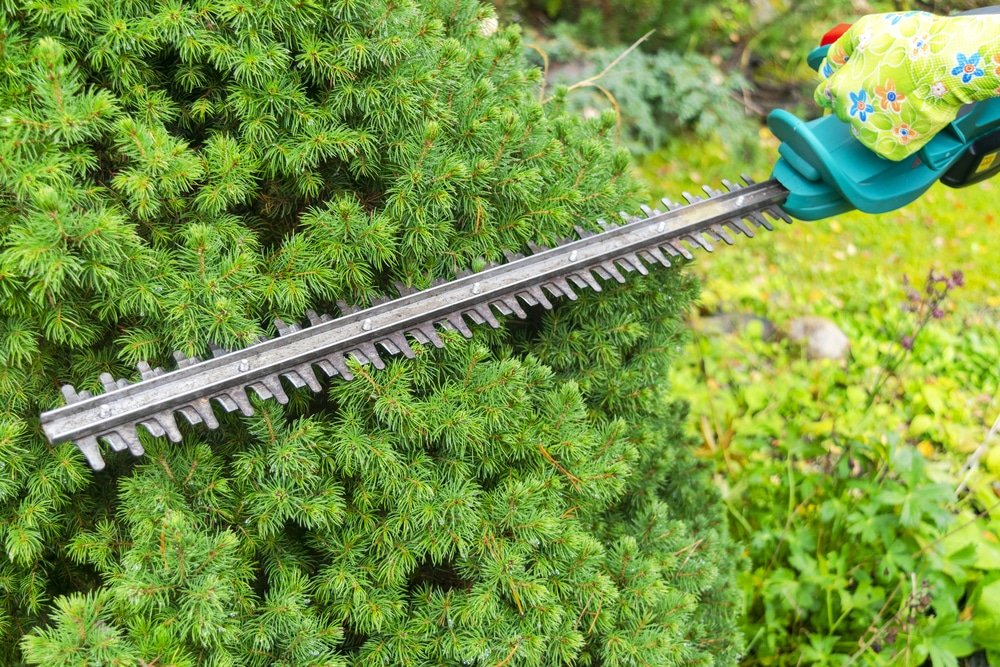
Step 3: Put On Protective Gear
As you are dealing with sharpening metal, it’s best to put on your protective gear. Gloves and goggles are a must, especially if you end up using a grinding wheel.
Trying to sharpen these blades can lead to accidents happening. Small, almost microscopic pieces of metal can fly off, so you need to wear that safety gear to avoid any accidents and be on the safe side.
Step 4: Use a File
If you don’t want to go ahead and use a power tool, you can use a hand file to sharpen the hedge blades. It does take some time to work over the blades, but it will get your hedge trimmer back to perfect working order.
Step 5: The File in Action
Get the blade, and use the file in only a downward manner. Do this with each tooth on the blade, but don’t go up and down. After a single downward motion, lift the file off of the blade and then repeat the process.
If you do go up and down, you will make the blade blunter than before, and you may create a thinner, more fragile blade, so don’t do it.
Step 6: Use a Sharpening Stone
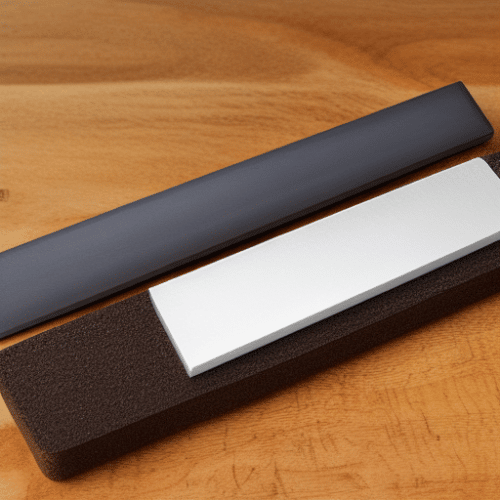
After you have used the file on each tooth, you need to use a sharpening stone to remove any burrs. It should leave a clean surface and a sharper edge on the blade.
Other Tips on Sharpening a Hedge Trimmer
Use a Power Grinder
If you want to speed things up, a power grinder is another option to use when you want to sharpen hedge trimmer blades. In fact, in our opinion, this is the best hedge trimmer sharpening tool to use.
With this option, please wear your safety goggles, as sparks can fly off. Gloves are also a good idea.
Clamp the blade down into position for you to begin to sharpen the teeth. Be aware that there may be times when you are required to undo the clamp and change the angle of the blade to make sure you get into each part. As a tip, double-check that the blade is nice and secure, as you don’t want it to move at all.
Be Gentle
You must be careful when using a tool such as this to sharpen the blades. Grinding uses so much power that it’s easy to end up filing away the teeth, and that’s going to render your hedge trimmer completely useless.
Use the Grinding Wheel
But here’s a helpful piece of advice: Use a 60 or 80-grinding wheel. It’s also essential to move in a downward manner to follow the angle of the blade, or you will make things worse.
Additionally, the strokes need to be short and precise. You want to get these teeth sharp again, so going too hard won’t leave them sharpened. Instead, you may end up with teeth that are blunt and beyond repair.
Do Every Tooth
You must do every single tooth and make sure you go in the same direction with each one. Then, use a sharpening stone to take away all of those rough bits along the edge of the blade. Especially when using a file, you will encounter more of these edges. With a grinder, you tend to get a smoother finish when sharpening.
Moreover, using a power grinder will take a fraction of the time compared to the manual method of filling each part of the hedge trimmer blade. You should be able to complete the job in next to no time.
Now that you’ve sharpened your machine’s blades try trimming your hedge and compare how it works to how it was before.
Key Takeaways
Remember to wear protection when carrying out either process. Our main tip on how to sharpen a hedge trimmer is to try to use the grinder method, as it’s faster and uses less energy. Although the process of trying to file away each tooth manually will provide you with a sharp outcome, it is going to take a long time. Additionally, it’s common for you to see mistakes, and the teeth you deal with at the end are not quite up to the same standard as those you started with.
On a final note, you need to maintain your hedge trimmer if you want it to keep on cutting in the same way as it did when it was fresh out of the box. And don’t forget to regularly oil and clean the blades.
Paul is the type of person who never met a problem he couldn’t fix. He can always be found tinkering with something in his house, even if it isn’t broken! His tips and tricks are often shared on our site. He’s the one you call when something breaks because he has been known to improvise fixes for everything from leaky faucets to malfunctioning dryers.