Last Updated on
If it has been a while since you last threaded your sewing machine, or you have a brand new machine, it is best to give yourself a refresher before diving right into a new sewing project.
After all, if you do not thread your sewing machine in the correct way or miss even one step, your machine will not work correctly. But, no need to worry! This article will give you instructions on how to thread a sewing machine step-by-step paired with useful tips to make threading your sewing machine easy and quick.
Before You Begin: Sewing Machine Threading Basics
First of all, let us go through the basics of threading a sewing machine. While many most likely know about the content below, it is still good to get a refresher.
Read the User Manual
The user manual will contain a guide on how to use a sewing machine. It will also have pictures and diagrams that outline the threading process and help you locate and recognise all of the parts on your machine. Furthermore, it will help you use your machine to the best of its ability and troubleshoot any possible problems while sewing.
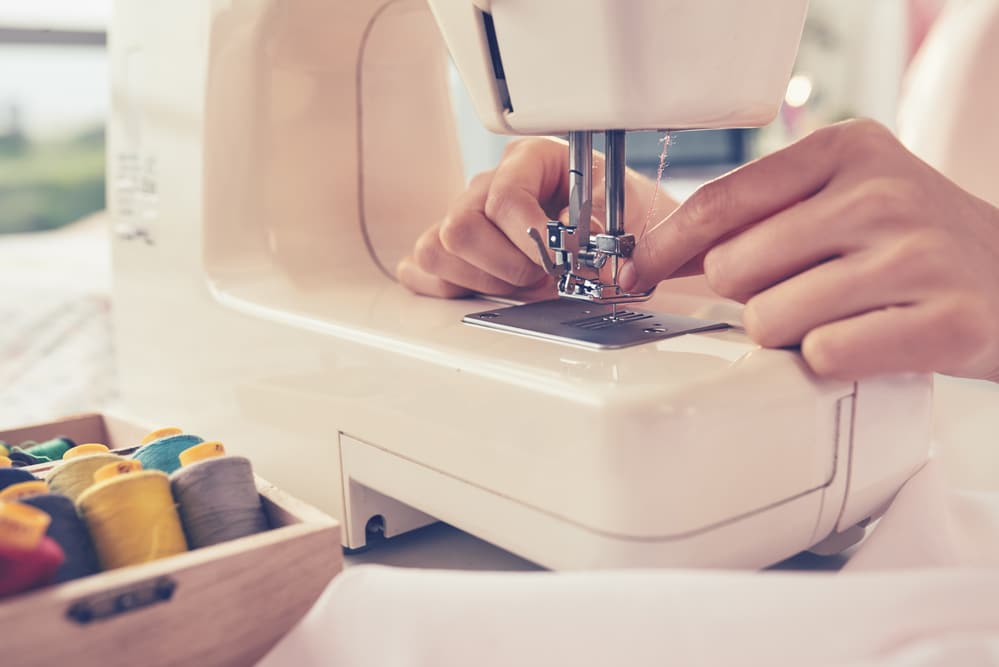
Prepare Your Sewing Machine and Sewing Area
Before you get started, gather the supplies needed for your sewing project and prepare your sewing area. Remove any items that could get in the way of the fabric while you sew and prepare your fabric and thread. Make sure to have a thread that matches the fabric you are sewing, as well as a wound bobbin of the same colour. Wind your bobbin before threading the top thread on your machine, or else you will have to unwind and redo it again.
Ensure the sewing machine needle and presser foot are raised and that the machine is powered off before you start threading. Raising the needle height will help you later on, and turning the machine off is an important safety precaution, especially for beginners.
How to Thread a Sewing Machine: Step-by-Step Instructions
Now that we are done with the basics, let’s go ahead and go through the different steps on how to thread a sewing machine.
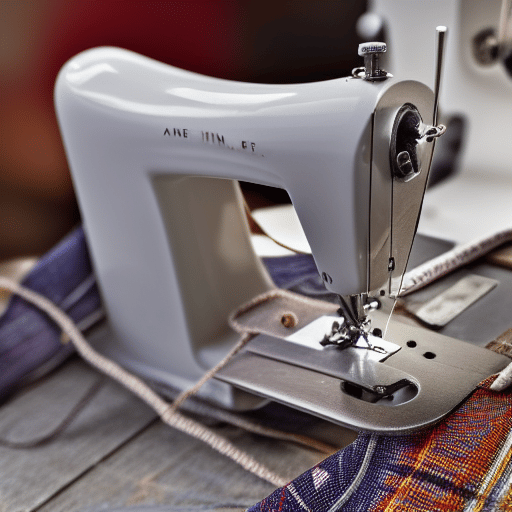
Step 1: Place Thread on the Top Spool Pin
To begin threading a sewing machine, place the thread on the top spool pin. The spool pin will have either an upright or horizontal orientation and will be located on the top of the sewing machine.
When the thread spool is in place, slide the small plastic cap over the end of the spool to keep it securely in place. The cap keeps the thread on the spool pin when you start sewing. If your machine’s spool pin has a vertical orientation, it may not have a cap.
Step 2: Over to the Top Thread Guide
Pull the end of the thread coming off the spool over to the left side of the machine and around the top thread guide. Many sewing machines will have arrows or a diagram with numbers on the top to help guide you along the machine threading path.
The top thread guide will often look like a small round knob that somewhat resembles a button, but it varies from one machine to the next. Thread guides may also look like a small metal hook coming off of the top of the machine.
Step 3: Down and Around the Tension Dial
Start winding the thread through the machine by pulling the thread end down and around the tension knob in a u-shaped motion. This brings the thread around the tension discs located near the centre of the sewing machine above the needle. The thread needs to be wound through the tension disks to keep the thread taut while sewing.
Step 4: Up and Over the Second Thread Guide
Continue the upward motion from around the tension knob to pull the thread up and over the second thread guide, called the take-up lever. The take-up lever is a metal hook with an eyelet for the thread to go through. You want to ensure the thread hooks over the lever and through the eyelet in another u-shaped pattern going from right to left.
Make sure the sewing machine needle is raised to the highest position for this step, or you will not be able to bring the thread over the lever. To raise the needle position, turn the handle or flywheel located on the side of your sewing machine.
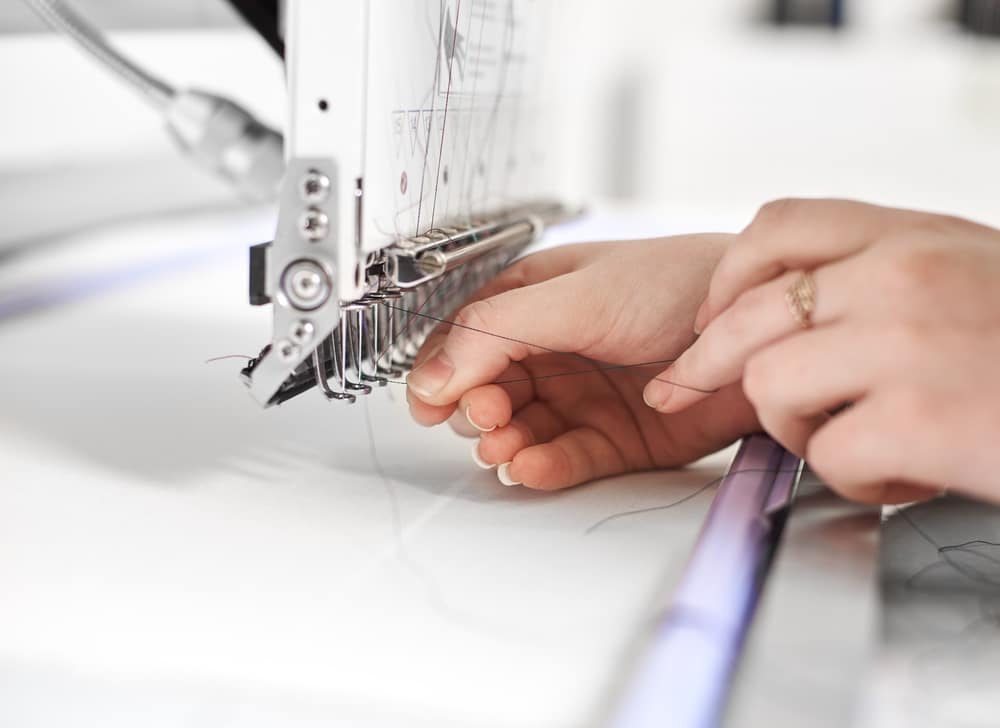
Step 5: Down and Through the Needle Hook
Next, pull the thread down toward the needle and through any thread guide hooks. Most machines have a hook directly above the sewing machine needle to keep the thread steady, but some sewing machines have more than one to guide this part of the path. At this point, the thread should be dangling in front of the needle.
Step 6: Thread the Needle
The next step to threading your sewing machine involves threading the needle. Lower the presser foot on your sewing machine and thread the needle starting from the front and going toward the back of the machine.
Many modern sewing machines feature a built-in automatic needle threader, so you don’t have to do it manually. An automatic needle threader involves a hook and lever combination that pulls a small piece of thread through the eye of a needle.
If your sewing machine has an automatic needle threader, pull and hold down the lever with your left hand. This causes an arm or hooks to wrap around the needle. Next, loop the thread end under the left hook on the threader arm using your right hand.
Then, release the lever with your left hand, and the threader will pull a piece of the thread through the eye of the needle. Finally, pull the loop out of the eye of the sewing machine needle, and the upper thread is all set.
Step 7: Insert the Bobbin
Now it’s time to get the bobbin thread sorted. Depending on your sewing machine, your bobbin will have either a top or front-loading bobbin compartment.
If your sewing machine has a top-loading bobbin case, drop a wound bobbin in and follow the thread direction displayed on the bobbin cover. The thread may need to come around a notch before you close the bobbin case cover.
If your sewing machine has a front-loading bobbin case, you may need to remove the shuttle to insert the bobbin. Most bobbins require a counterclockwise thread orientation to ensure the correct bobbin tension but again, follow the diagram on the cover of the bobbin case.
Step 8: Join Top Thread and Bobbin Thread
When a wound bobbin is in place, you can join the top thread with the bobbin thread. To do this, turn the handwheel toward yourself, so the needle drops below the presser foot and hooks the bobbin thread below. Continue turning the hand or flywheel, and the needle will bring the bobbin thread back up with it.
Step 9: Pull Joined Threads to the Back of the Machine
For the final step to threading your sewing machine, gently pull the joined threads toward the back of the machine, and you are ready to start sewing. Pull enough thread out to hold it during the first stitches of a seam but not some much that you create unnecessary waste.
Pro Sewing Tips
It is recommended that you do the following to help minimise, or even avoid, problems once you start sewing.
Test on a Scrap Piece of Fabric
After threading a sewing machine, we recommend you test the stitching on a piece of scrap fabric before diving straight into your sewing projects. This will make sure the sewing machine threading was done correctly and help you determine the appropriate tension setting for the thread and material.
To test your work, after you thread a sewing machine, set the stitch setting according to the sewing patterns you will be attempting, lift the presser foot, and insert the fabric. Line up the fabric with the needle and then lower the presser foot.
Hold the threads coming out of the back for the first couple of stitches to ensure the machine does not suck them back up and unthread the needle. You can reverse stitch if you want, but it is not necessary on a test seam. After sewing a short seam, assess and adjust the tension setting as needed.
Additional Tips for Threading Your Sewing Machine Needle
Here are other tips that may come in handy when you start your next project.
While threading your sewing machine is fairly easy, the toughest part for most people is threading the needle itself. Considering how you are attempting to shove a pliable piece of thread through a tiny hole on a needle, it’s no surprise this is the most difficult part, especially if your machine does not have an automatic threader built-in to the design. However, there are a few things you can do to make threading a needle easier.
- Always make sure to keep your sewing machine turned off while you thread the needle. You don’t want to accidentally tap the foot pedal and cause the needle to move. Not only will this make it impossible to fit the thread through the eye of the needle, but it is also extremely dangerous.
- Try rethreading your sewing machine if issues arise and it does not sew correctly. Often, a missed step in the threading process will cause thread bunching or buildup blocking the needle.
- Use sharp scissors to trim the end of your thread. This will remove stray strands and prevent fraying, making it more difficult to fit through the eye of the needle.
- Try using tweezers to help you pull the thread through the needle. Often, a little bit of extra help from the reverse side will make the needle easier to thread.
- You can also try adding some extra light so you can see the needle better.
- Purchase a separate needle threader tool if your machine does not have one built-in. Threading tools come in various styles and can be used for hand sewing or with your machine.
- Use quality sewing thread as it will hold its shape better and resists fraying better than cheaper threads.
- You may even want to lick the end of the thread to help the needle pass through the needle easier. This will smooth the thread fibres and also make the end slightly stiffer. Alternatively, lick your fingers and rub the end of the thread between them to form more of a point.
Threading Your Sewing Machine Made Easy
After reading through our helpful tips and detailed instructions on how to thread a sewing machine, you should be more than ready to get started. Whether you already have sewing patterns and projects in mind or not, being able to thread a sewing machine is a great place to start your creative process.
Just remember to follow the threading process exactly and don’t skip any steps, or your machine will not function. If any issues arise, try rethreading your machine first and then refer to the troubleshooting section of the user manual.
Let us know what you think in the comments below.
Emily is a woman of many talents. She has a B.A. in English and enjoys writing. Emily loves accessorising her home with quality products that not only serve a purpose but also enhance the overall convenience and tranquillity of her living space; there’s nothing like coming home to your own personal sanctuary after a long day! She loves anything that can make life easier or more comfortable—from dishware to furniture to lighting fixtures.