Last Updated on
Understanding how to sync a wireless doorbell is easier than you may have initially imagined. It applies even if you have limited experience in this type of thing, as syncing your wireless doorbell will involve a few simple steps.
The Importance of Syncing
But first, what’s the actual importance of syncing wireless doorbells? Well, it’s all to do with the need for your chime receiver, a key part of any wireless doorbell, to be able to understand that someone is at your door when they press the doorbell.
If you didn’t sync things, people would press the push button at your door and be left standing there wondering why nobody answered.
In other words, you need to sync things if you want your wireless doorbell chime to work.
This Applies to All Wireless Doorbells
We need to stress that the steps we are about to guide you through will apply to all types of wireless doorbells. It means your new video doorbell will also work in this manner, as well as the older-fashioned normal wireless doorbell.
Jumping Ahead a Few Steps
Before we tell you how to sync a wireless doorbell, we will presume one or two things to make life easier.
We will presume you have already bought your new wireless doorbell, and you also know where the different aspects of your wireless doorbell system will be placed. We aren’t going to tell you how to install your new wireless doorbell system in detail, but let’s quickly run through the key parts.
A Quick Guide to the Installation
Just like we said, you have purchased your new doorbell, and you have decided to opt-out of having all those exposed wires connected to your doorbell button. Depending on different models, you may have to screw the receiver or transmitter onto your wall or door. Others effectively stick on via a strong adhesive strip, and that is certainly the easier option.
That is all that’s really required with both the receiver and transmitter parts of your wireless doorbell. Of course, your doorbell may have slightly different requirements, especially if you have a second unit involved as well. But installing a wireless doorbell should only take minutes to do.
Now that you have installed your wireless doorbells, then let’s get on with the syncing process.
How It All Works
While a video version will provide you with some extra security, it’s also easy to understand how that version works. For example, you have the doorbell and your phone; someone comes up to push the button, and you hear it on your phone with the video activated.
A wireless doorbell is slightly different.
Here, you have the transmitter’s button and a receiver, where you hear the sound. The receiver may be referred to as the chime, and in some models, you can even change the chime tone.
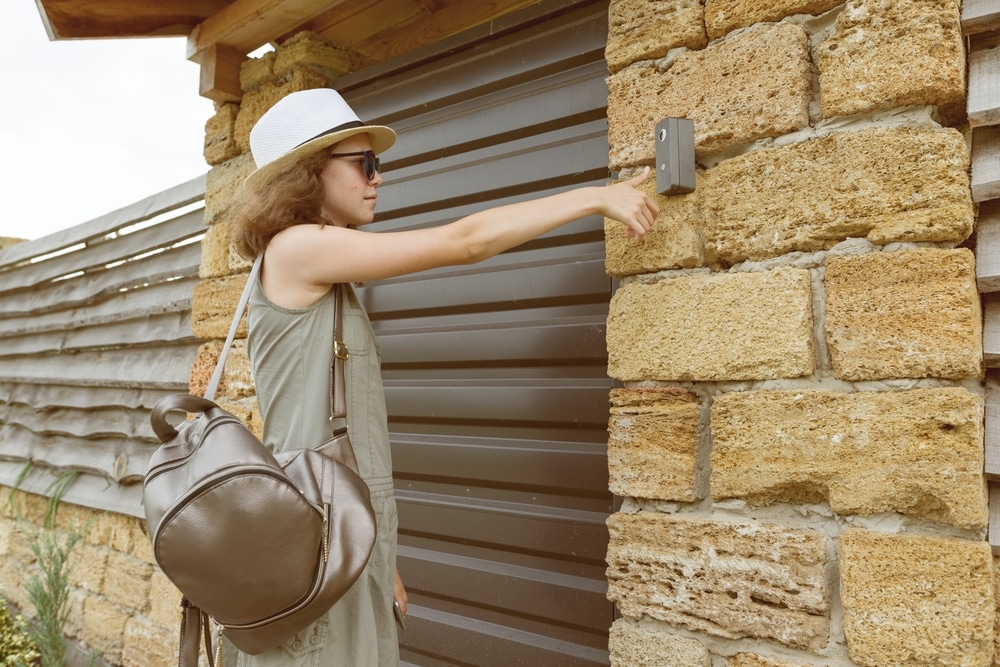
Someone comes to your door and presses the transmitter button, which may also be referred to as the push button located at your door. Both parts operate on the same frequency, with the transmitter device sending a signal to the bell part located elsewhere in your home.
That is why it is wireless. Also, it’s so easy to operate, but at the same time, you can start to see why you need to sync your wireless doorbell to make sure everything runs smoothly.
However, we also need to address another point.
Understand Your Number of Transmitters
We do need to mention one crucial thing with your wireless doorbell, and that’s connected to the transmitter. Keep in mind that you may have more than one door that needs to be covered. If that’s the case, then you need a transmitter for each door.
What you will find is that the different parts should all work.
However, that will not make a big difference in the installation process and the syncing aspect. So, here are the main syncing steps that you need to follow.
Step by Step Guide on Syncing a Wireless Doorbell Properly
Step 1: The Batteries
A wired doorbell comes with it being attached to the electricity supply. That’s different from the wireless doorbell model, where no wires are included.
So, what you need to do is to look at the batteries that come with your model. Now, they may have been included, so install them the correct way around. You will be amazed at how often people do this wrong and then wonder what’s going on.
Step 2: Check the Chime
You also need to check how the chime part is being powered. There’s a good chance it’s also going to be battery-powered, so install the batteries in the chime part as well. Alternatively, some can be plugged directly into your mains.
Step 3: Starting to Sync
Whether it’s your video doorbell or plain old wireless doorbell, syncing both the doorbell and chime control buttons is easy.
The exact way you do this will be included in the instruction manual, but properly syncing the doorbell should not be too difficult.
You need to get both the receiver and the transmitter together, as you will be required to operate both to allow them to function correctly. The key here is to push the doorbell button and, at the same time, push the button on the transmitter.
In doing this, you should then be able to sync both together. It’s a way of making sure that both parts of the wireless doorbell almost recognise one another.
Step 4: Which Push Buttons to Press?
When it comes to wireless doorbells, particularly the part that lets you know someone is at the door, you will have to look for the sync button. Exactly where that is located in your version is going to be listed in the instruction manual.
You must press the correct part. However, most wireless doorbells make it pretty obvious to the right button, as this is required to perform their basic functionalities.
It is that simple. But let’s quickly run over a few essential points.
Why Syncing Plays a Role
With a hard-wired doorbell, the signal is going to run along the wires between the two parts. That means there’s no signal interference going on, as there’s no way that it can be interrupted.
With wireless doorbells, you need to prevent signal interference, and one way of doing that is by pressing the sync button on both parts.
The Importance of Being Close Together
You need to make sure that each part is close together, and that applies even if you are using two or more receivers. Again, it is purely to make it easier for you to complete the syncing process, no matter the particular wireless doorbell model you own.
A Quick Note on a Video Doorbell
If you have a video doorbell, then you need to go through a slightly different syncing process. Here, your doorbell part is treated the same way as you need to push the button to activate the wireless doorbell like someone is there at your front door.
However, the video part is different.
The main part you need to sync here is your smartphone, which acts as the receiver part of this entire process. The good news is that this also comes with easy installation. All you need to do is download the correct app for your smartphone, install the app, and sync via your phone.
When you do this, you should hear the chime and go beyond the sound and see the video on your phone.
However, remember you still need to sync things, or else you will hear absolutely nothing when someone comes to your doorbell.
Troubleshooting
Finally, if you are having problems trying to sync your wireless doorbell, there’s a good chance the main issue will be with the battery. If the battery is fine, then you may have a faulty wireless device.
If you believe that this is the case, refer back to the manual for your wireless doorbell model. It may be the case that they use a different approach that you have overlooked.
In some instances, you may need to remove the battery cover once more and press the reset button on both parts. That’s going to put you back to the factory settings effectively, and you then need to go through the syncing process once more to see if that sorts the issue.
Start Syncing Your Wireless Doorbell
This entire process should take very little time, and as you can see, it does require next to no experience or knowledge of electronics to get your new doorbell to start producing its sounds. Of course, you can change the chime tone on some models, but to do that, you still need to make sure the different parts of your doorbell are not working on a different frequency.
So, get those batteries installed, sync everything, and you are good to go.
Paul is the type of person who never met a problem he couldn’t fix. He can always be found tinkering with something in his house, even if it isn’t broken! His tips and tricks are often shared on our site. He’s the one you call when something breaks because he has been known to improvise fixes for everything from leaky faucets to malfunctioning dryers.

I follow allot your instructions…When I bought mine there were no instructions at all…the bell is working but when I try to sync them it does not work…could you help